
Did you expect to learn ceramics without pottery related equipment? Probably not.
Pottery doesn’t involve simply moulding clay and leaving it in the sun to dry. Rather, it’s an equipment-intensive art form that requires artistic creativity and equipment to simplify and make manifest your artistic imaginations. Just as “a farmer doesn’t farm without his farming implements”, so does a potter.
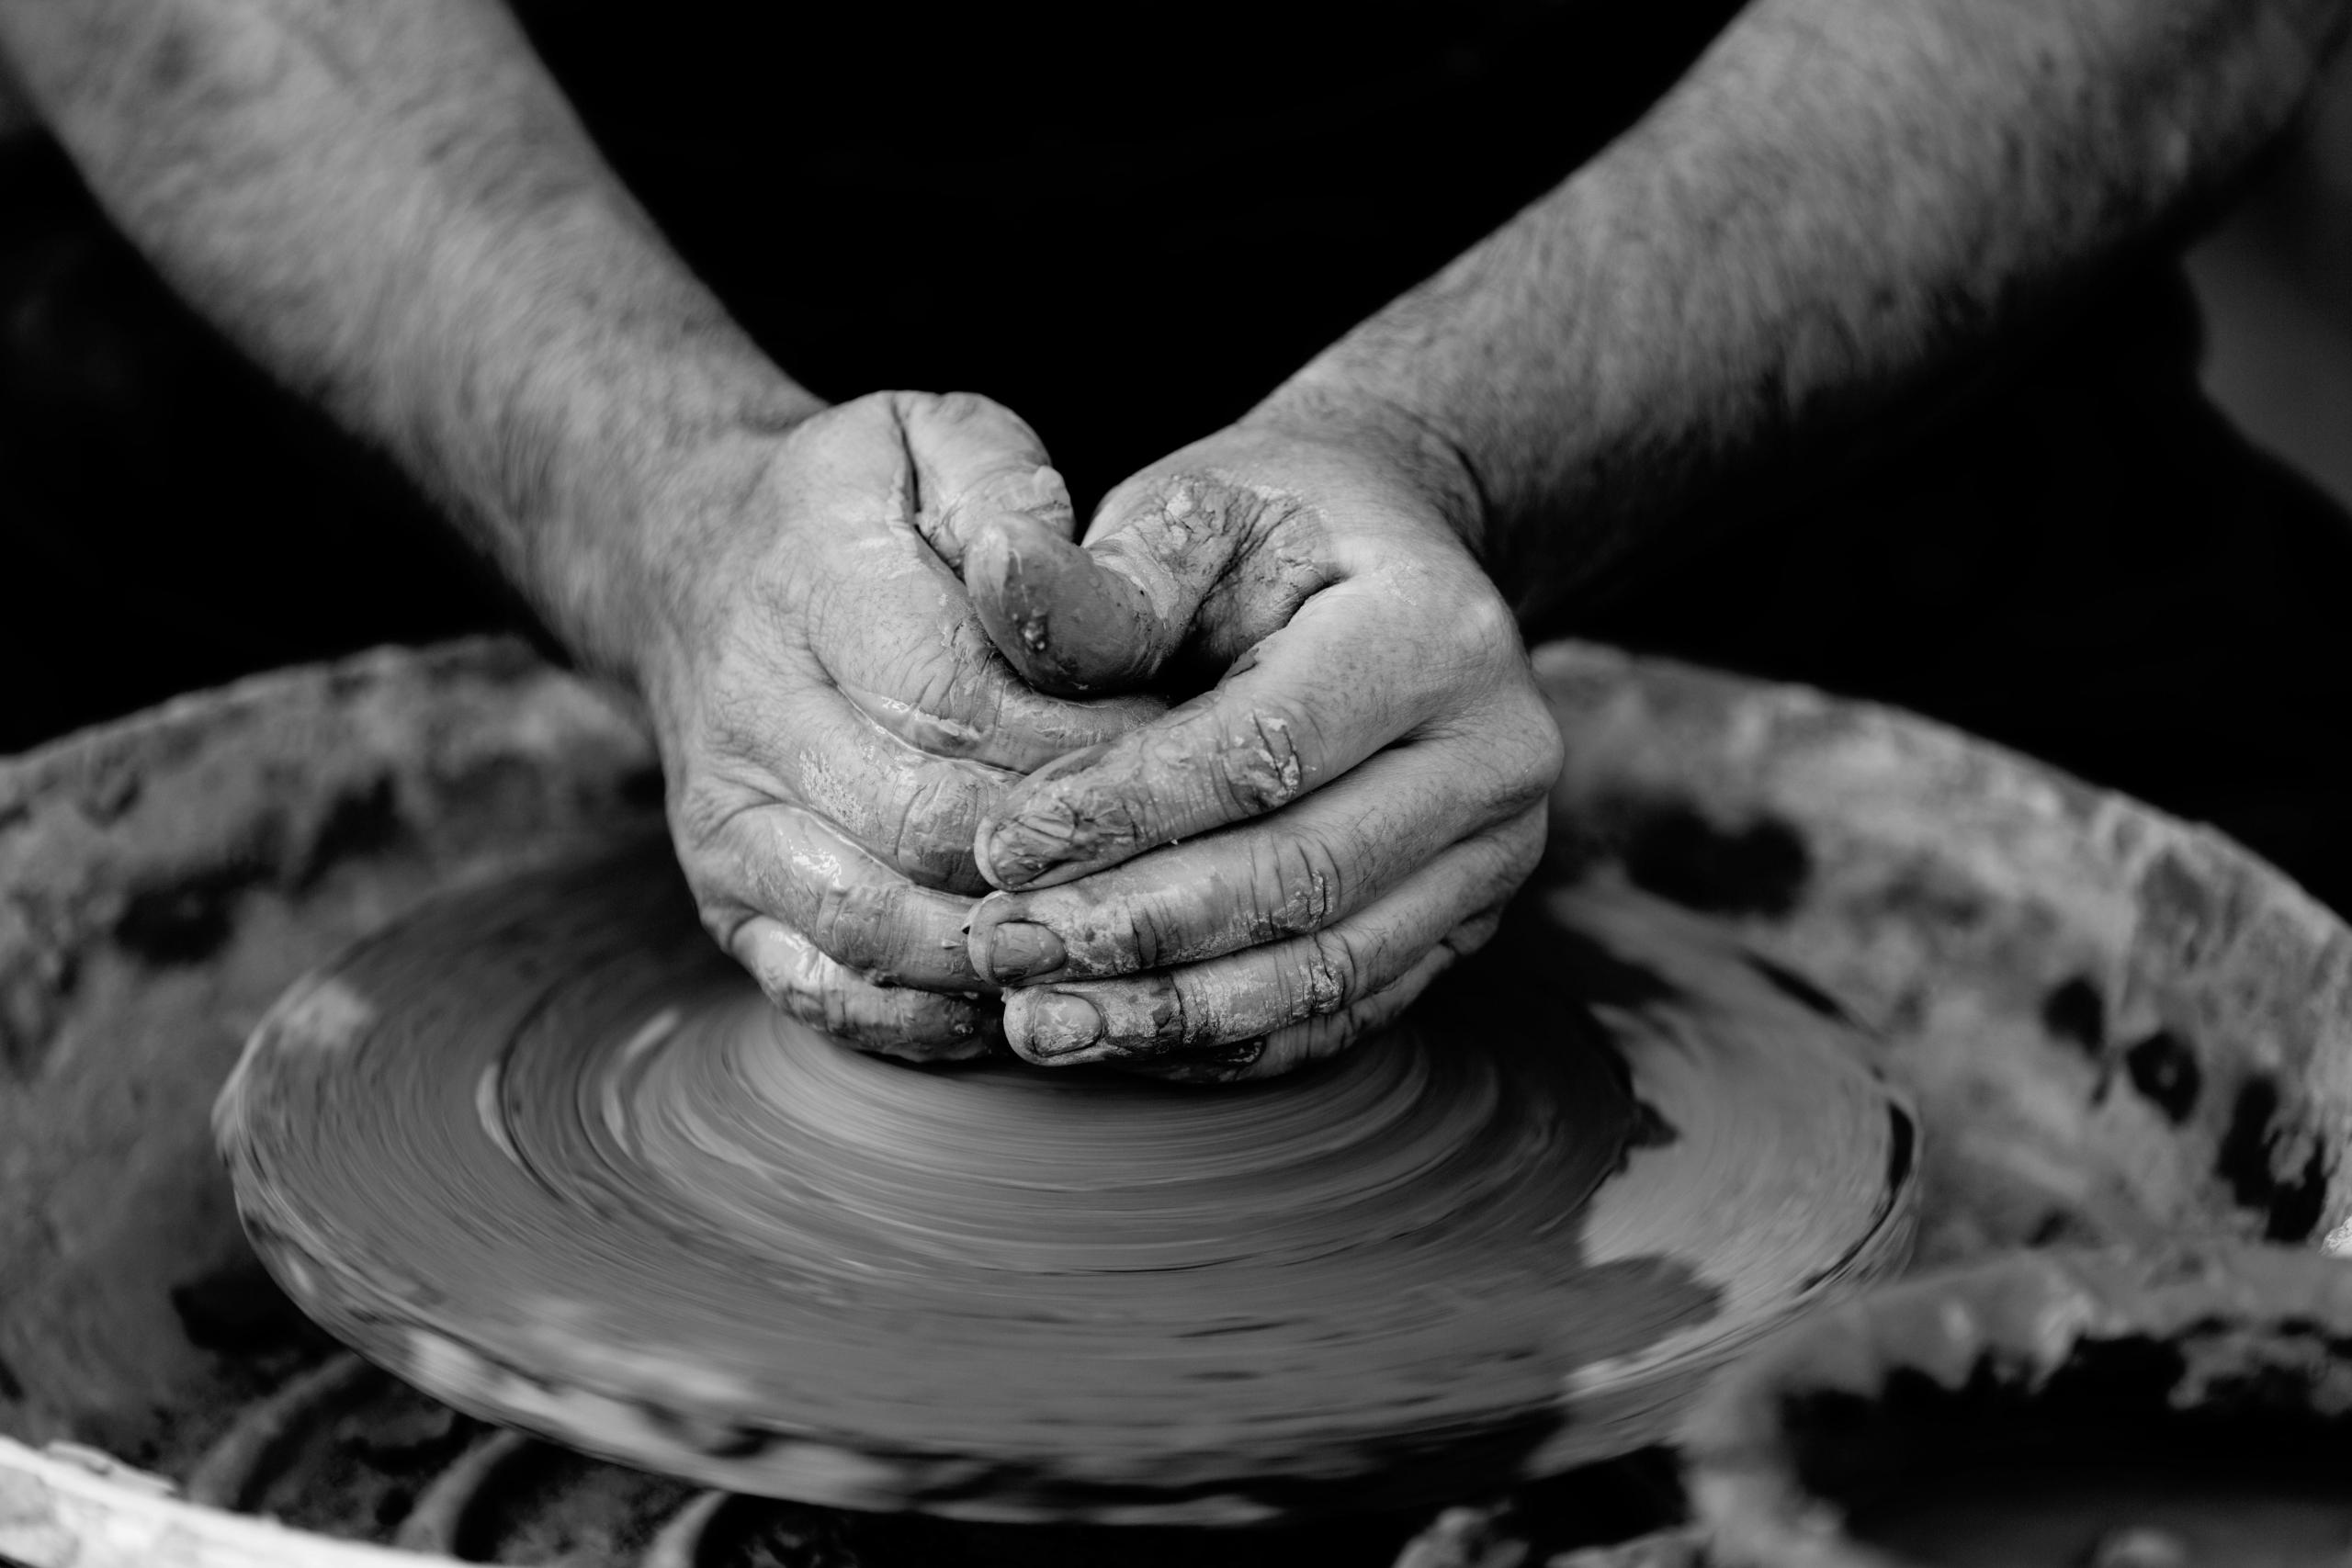
Although pottery is determined by a potter’s creativity and not by his tools, having access to equipment would simplify the production process. Have you imagined how long it would take you to mould a vase without a pottery wheel? Before considering the length of time, how skilled and precise are you with hand moulding?
As a prospective pottery student intending to learn pottery, you’re probably wondering about the equipment needed to take ceramics classes. Thankfully, you don’t need any equipment, provided you’re attending a standard class that offers studio sessions. However, you would need physical strength, body flexibility, and mental creativity to create striking pottery pieces.
A standard pottery studio has the main tools to make your pottery learning journey a fascinating and stress-free one. You’d find tools such as slab rollers, kilns, pottery wheels, extruders, storage shelves, and more. Good enough, you don’t have to carry your pottery wheel to every wheel throwing class. However, you would have to pay for other affordable materials like the clay, glazes, ruler, wire tool, and more. If you want to do pottery professionally, you should practise constantly at home, as much as you do in class. Hence, having your mini-studio at home wouldn’t be a waste of funds.
Before considering the different equipment to purchase, you must have decided the clay type you want to work with. This is because pottery-making isn’t achieved with a single type of clay. Also, the firing temperature determines the type of clay you’d use; which, in turn, would determine the kiln type you’d purchase. Let’s briefly discuss the three broad classifications of clay. The knowledge of this would make you choose kilns based on their firing temperature rather than aesthetics.
Learn everything about how to start ceramics making.
“Having a little fun at my work does not make me any less of an artist and people who appreciate truly beautiful and original creations in pottery are not frightened by innocent tomfoolery!”
-Clarice Cliff
Classification of Clay
Earthenware: this remains the clay type with the lowest firing temperature. Thanks to its low energy consumption, you’d pay fewer electricity bills. Furthermore, it’s unfit for microwaves and dishwashers due to its low porous nature. Should the clay absorb water, it might crack while heating.
Stoneware: this clay type withstands mid-temperature firing. It exists in speckled, red, or buff colours depending on the temperature used. Stoneware products are perfect for microwaves, as well as, dishwashers. Your mug is a perfect example.
Porcelain: ensure your kiln can attain the temperature for porcelain before attempting to make a piece. Hobby-styled and beginner kilns can’t heat clay at this temperature. This translucent piece of fired clay is very expensive; around double the price of other types of clay.
Now that we’ve discussed the clay types, let’s discuss the tools needed by beginners and professional potters.
Here's a detailed guide to ceramics.


Kilns
Despite the numerous hand-building and pottery making equipment out there, the most revered remains the kiln. During the prehistoric era, kilns were pits or trenches dug into the ground. Thanks to modernization, there are multiple kiln types to choose from. There are two broad categories and they are:
- Intermittent or periodic kilns
- Continuous or tunnel kilns
Tunnel vs Periodic Kilns
Tunnel kilns are used for industrial productions, so they’re always firing. The ceramic ware in need of firing is loaded into kiln cars and slowly passes through the kiln on a rail or track. Once it’s cold, the cars get offloaded and reloaded so the firing cycle continues.
Potters utilize periodic kilns the most. From its name, you can deduce that periodic kilns are used intermittently. To use this type of kiln, you’d begin by loading it, then heating it to the required temperature, before cooling it. Once it’s cold, unload the fired ware. Below are the most used periodic kilns:
- Downdraft kiln: here, the flame is set at the kiln’s base so that the heated air circulates throughout the kiln. It’s structured such that the flame flows upward before flowing back down to the exhaust. Its major components comprise the damper, chimney, stack area, and firebox.
- Updraft kiln: here, the flame is set below ground level or at its base, with its exhaust situated on top. It’s made up of the stack area, damper, and firebox. The flame enters the firebox; the damper which is on top controls the kiln’s exhaust and atmosphere; the clay pots are set on the stack area.
- Hill-climbing kiln: it’s constructed on a slope which functions as a chimney. This slope improves the kiln’s air-flow. The single-chamber variant of a hill-climbing kiln copies the air-flow structure of an updraft kiln, while the multi-chambered one follows the downdraft structure.
- Other types of periodic kilns include the car kiln, bottle kiln, catenary arch kiln, sprung arch kiln, and the top-hat kiln.
Finding pottery classes near you might be impossible, as they’re often situated far away from your residence. You can check the Superprof platform to find professional pottery tutors near you.
Here's what you need to know before starting your pottery classes.
“I do pottery. I love it. It’s very relaxing; it takes me to another planet.”
-Eva Herzigova
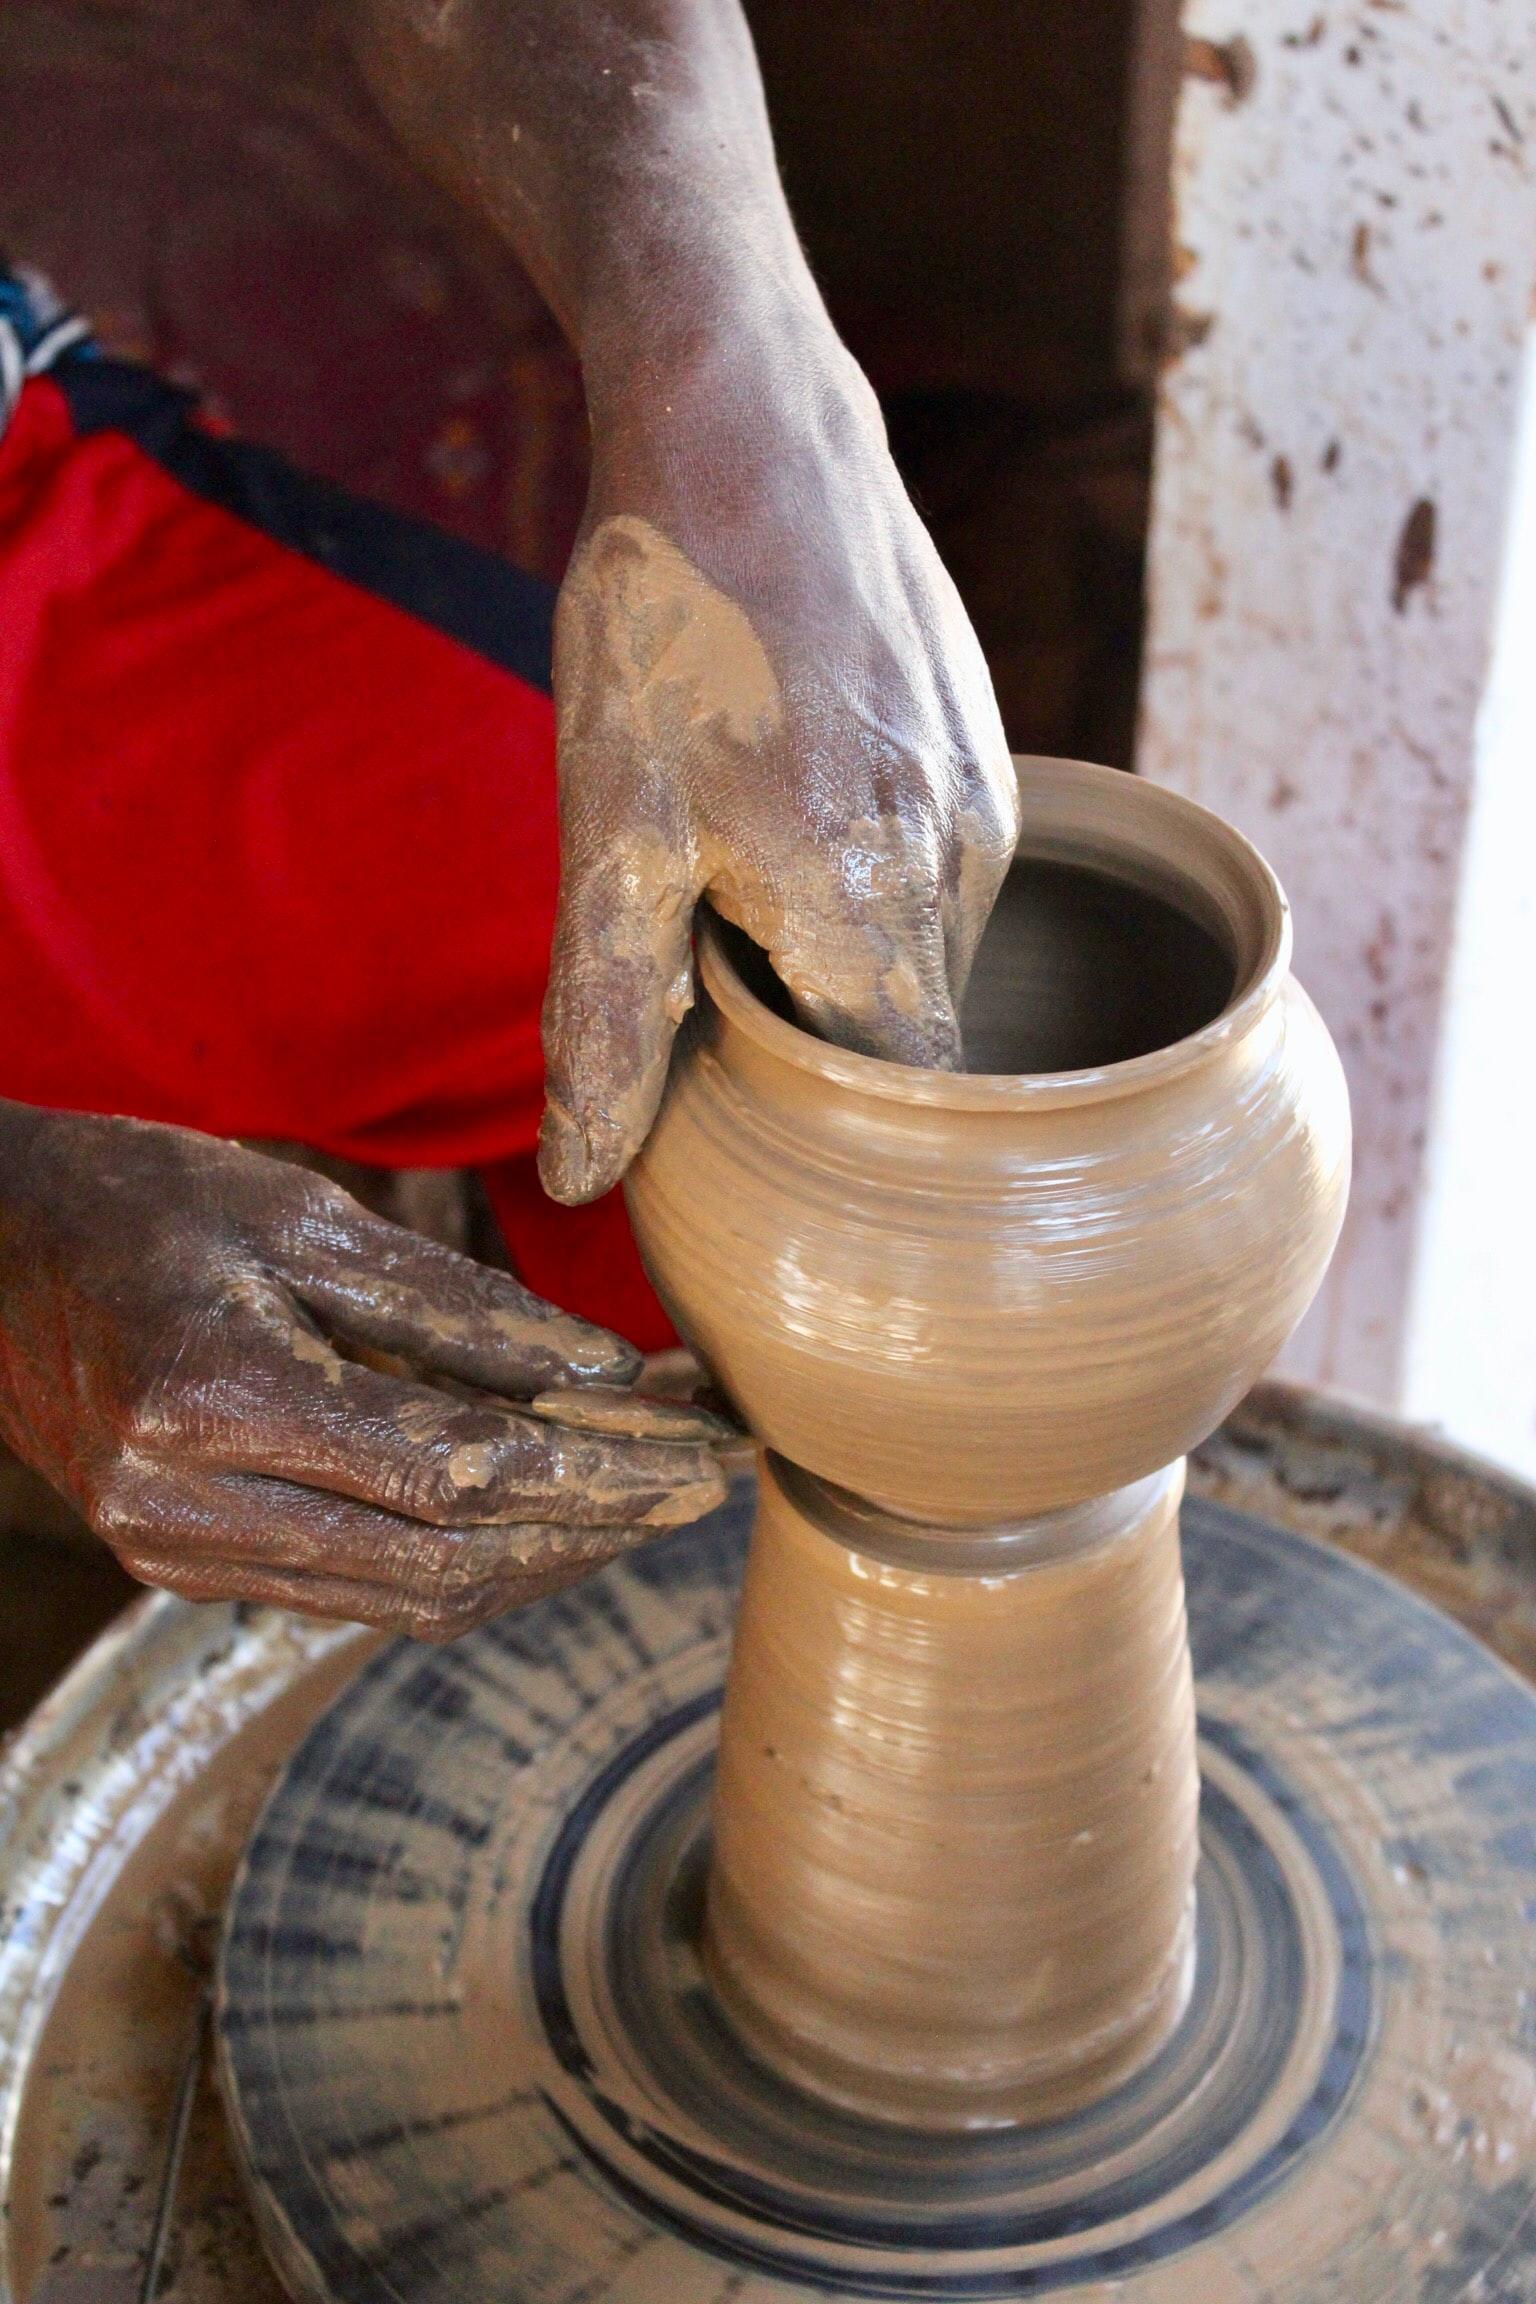
Pottery Wheel
The history of pottery reflects that the wheel didn’t exist until 3,500 BC. So, even if you cannot afford to purchase one at the moment, you can still make decent ceramics pieces. This method is called pinching pottery. All you need do is roll a fist-sized ball of clay, make a hole using your thumb, then gently pinch it until your bowl is 0.6cm thick. Once you’ve achieved this thickness, flatten it out until it’s stable.
Away from the improvised pinching technique, a potter’s wheel is a device used in throwing circular ceramic ware. It is used to apply rings of colour or incised decorations, and trim excess clay from dried pieces. For beginners, mastering the workings of the wheel takes time because it goes beyond mastering the different wheel throwing techniques. It involves steadying your hands, maintaining the recommended wheel speed (240-300rpm), applying water sparingly, and wheel wedging.
Signing up for a pottery studio class would help improve your pottery making, throwing, and hand building skills. It’d be difficult for beginners to learn these skills on the net. Thus, finding an open studio with a pro instructor willing to guide you would greatly improve your pressure application, posture, balancing, and spinning.
Work Table
Depending on how large your studio is, you’d need two tables; one for glazing and the other for clay preparation. For a large-spaced studio, a 4’ x 8’ mid-grade plywood sheet enclosed with heavy canvas is perfect for a work table. For a smaller studio, resize it to fit your needs but ensure the canvas is tight-fitted and stapled to the plywood’s underside. Peradventure you have a single table spread a plastic or Formica sheet across the table before glazing.
Glazes
While earthenware pottery doesn’t need a glaze, porcelain and stoneware do. Glaze functions as waterproof, decoration or colouring, and toughens the surface of structures. It’s advisable for beginners to purchase readymade glazes. Note that the glaze’s firing temperature should be the same as the clay’s.
Here's a guide to finding pottery classes in Nigeria.
“Having a little fun at my work does not make me any less of an artist and people who appreciate truly beautiful and original creations in pottery are not frightened by innocent tomfoolery!”
-Clarice Cliff
Clay Processors
You don’t need this if you’re just starting. These tools are for potters with large work volumes. They simply prepare or process clay for use and they are:
- Pugmills: fuse clay that’s been mixed
- Clay mixers: mix clay components and recycle clay fragments or scraps
- Pugger mixers: perform the function of both
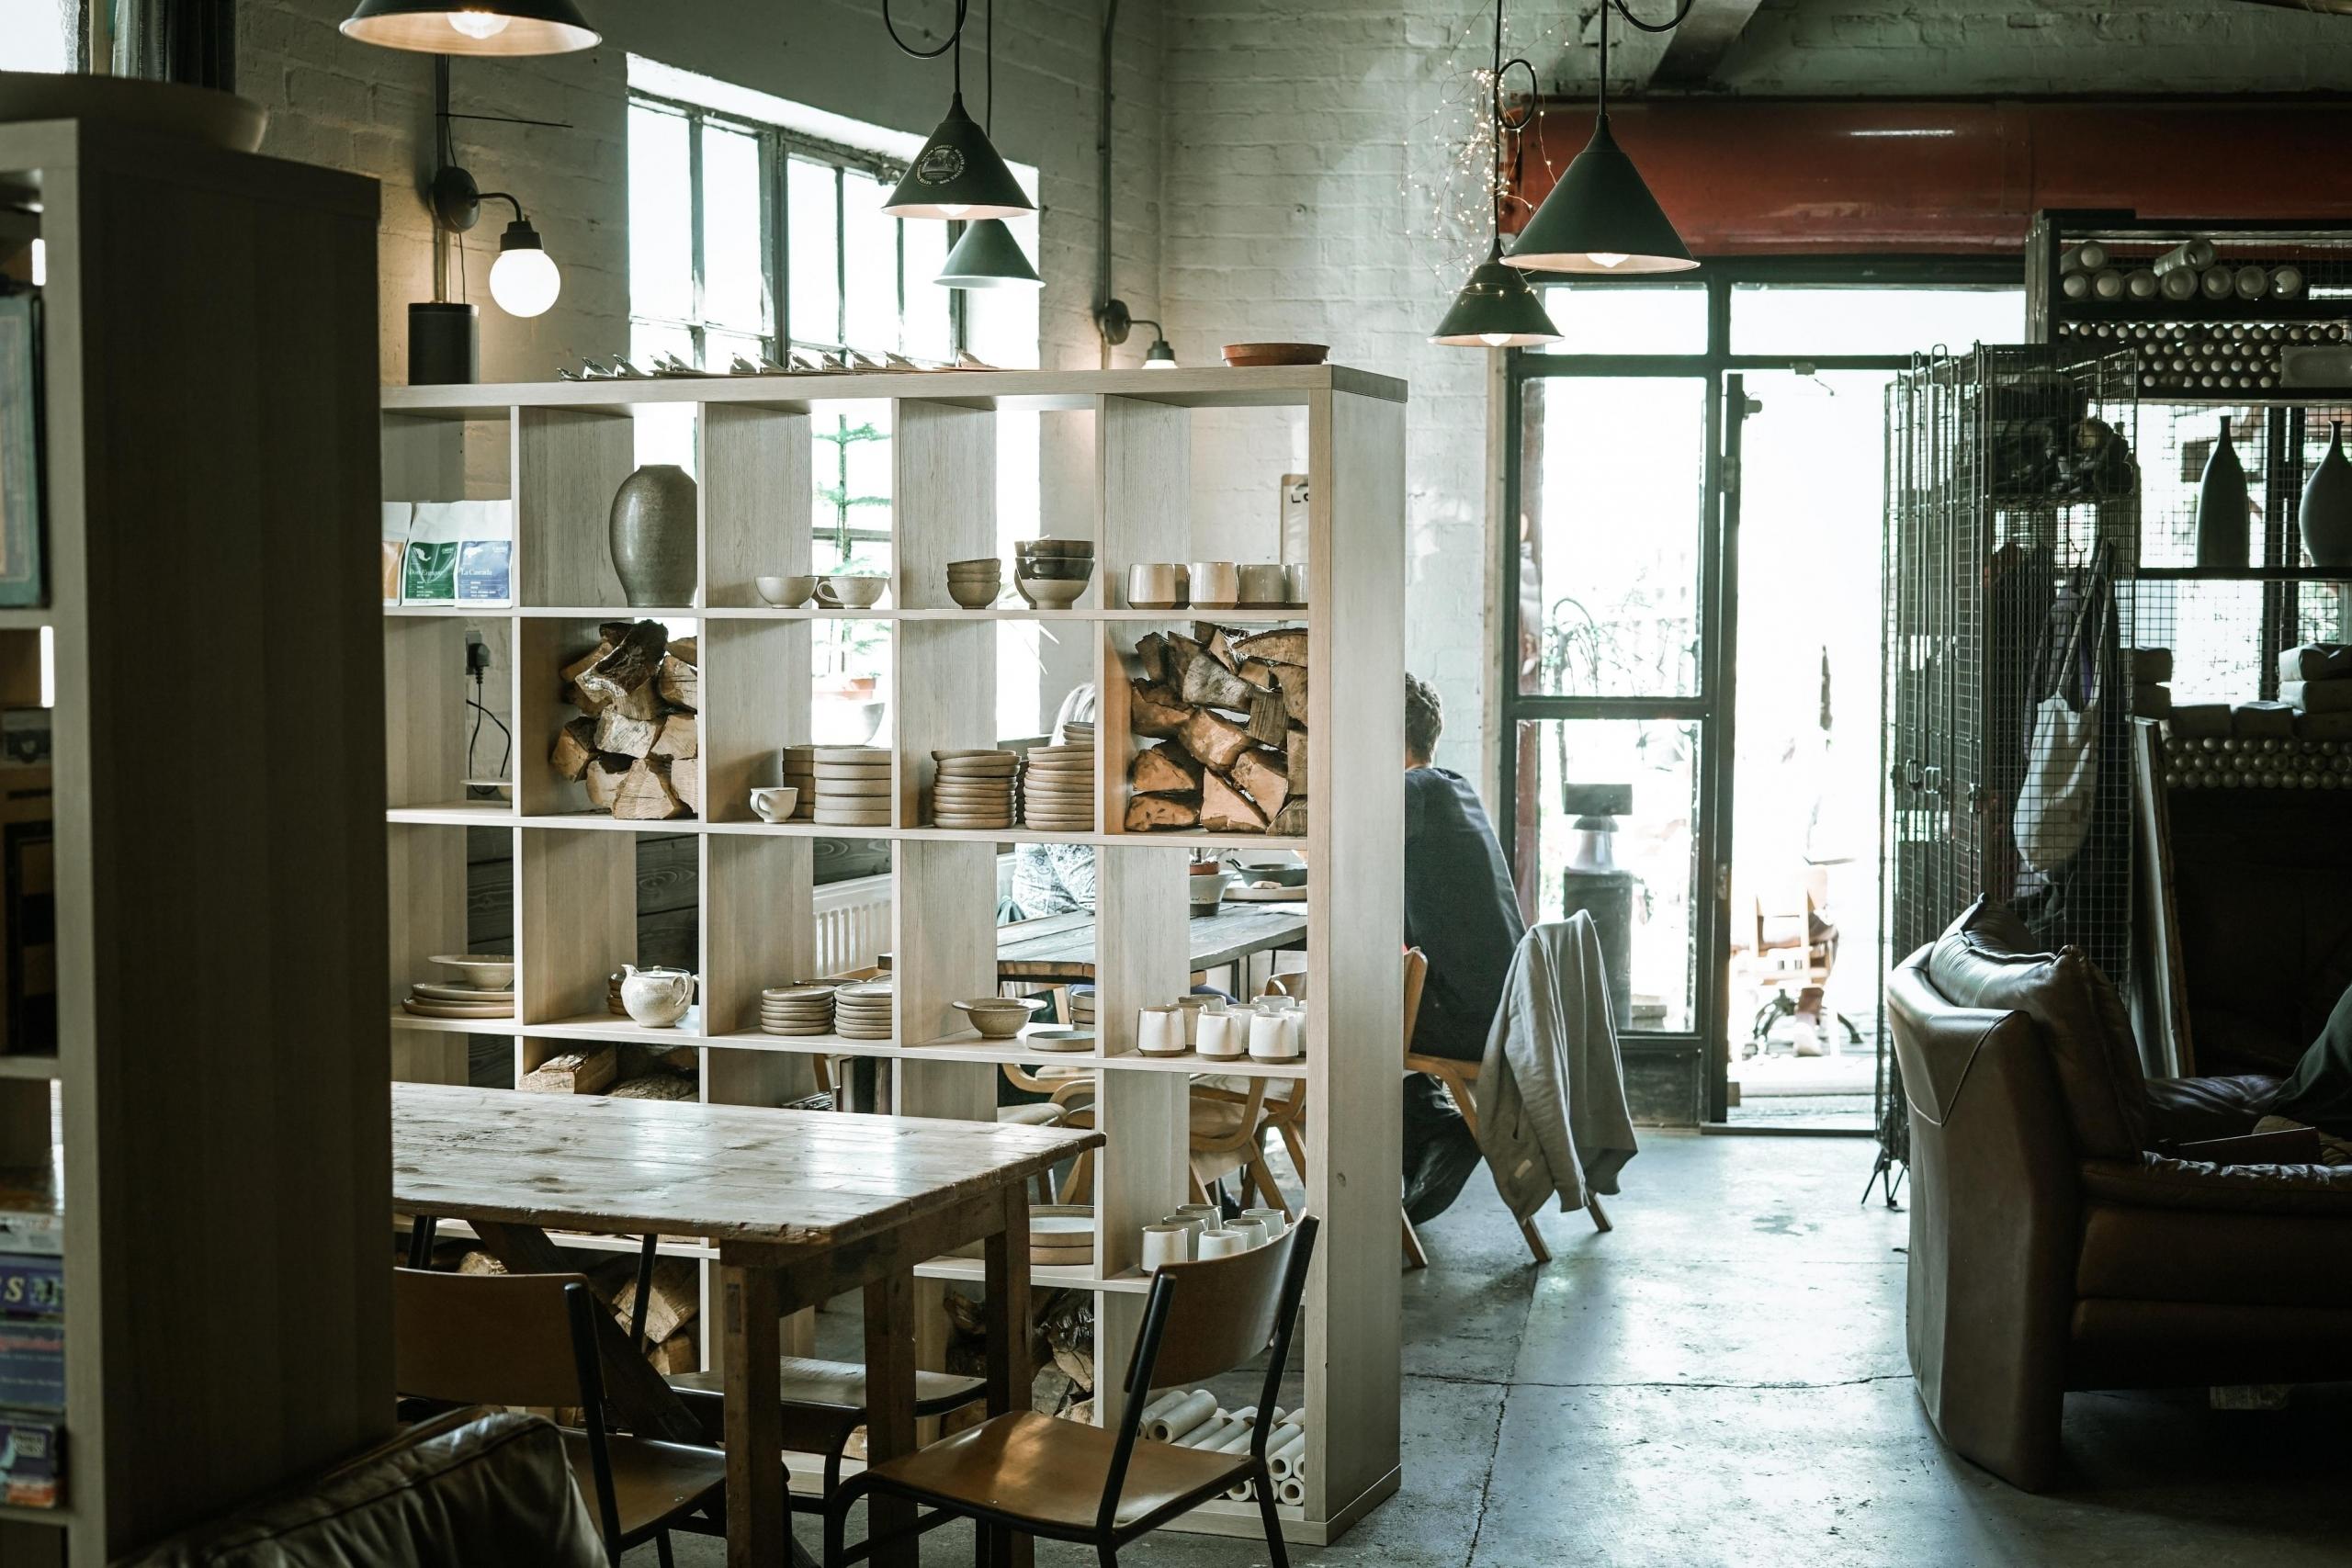
Storage Shelf
You would need this for preserving your moulded pieces before they are fired or glazed. A wooden shelf is perfect provided you’ve got enough space. But if your pottery studio cannot accommodate something that large, go for a wall shelf.
Space
In addition to all the fancy equipment you’ve purchased or plan on getting, you need some space to work. Working in a cramped location won’t allow for the most productivity and might be dangerous to your health.
Additional Tools
Wire tool: for cutting clay.
Needle tool: a professional tool for scoring and throwing.
Sponge: for adding and extracting water from the clay.
Trimming tool
Ruler: for accuracy.
Paintbrush: for glazing.
Glazing tongs: for holding ware while glazing.
Summarise with AI:
Did you like this article? Leave a rating!

