
“The most serious part of the human body is the buttons on your sleeve.” - Jules Renard
Did you know that there are people who collect buttons?
Why?
Because there’s a huge variety of colours, shapes, and materials. Buttons were originally used for aesthetic purposes. It wasn’t until the 13th century that buttons began being used to fasten things closed, like shirt sleeves.
Nowadays, whether it’s for doing up your coat, jeans, or customising an item of clothing, buttons are very easy to sew, even for absolute beginners. Whether you have a sewing machine or not, you can follow our guide on how to make and repair clothes!


The Main Steps to Sewing Buttons
Here’s some advice when you learn to sew on a button for the first time: leave some space between the button and the fabric because more fabric will need to fit in there when you fasten the button up and you don’t want it to pull on the button or rip it off.
It’s a good idea to place a match under the button before you start sewing to leave you enough space. Don’t remove it until you’re completely finished sewing it on.
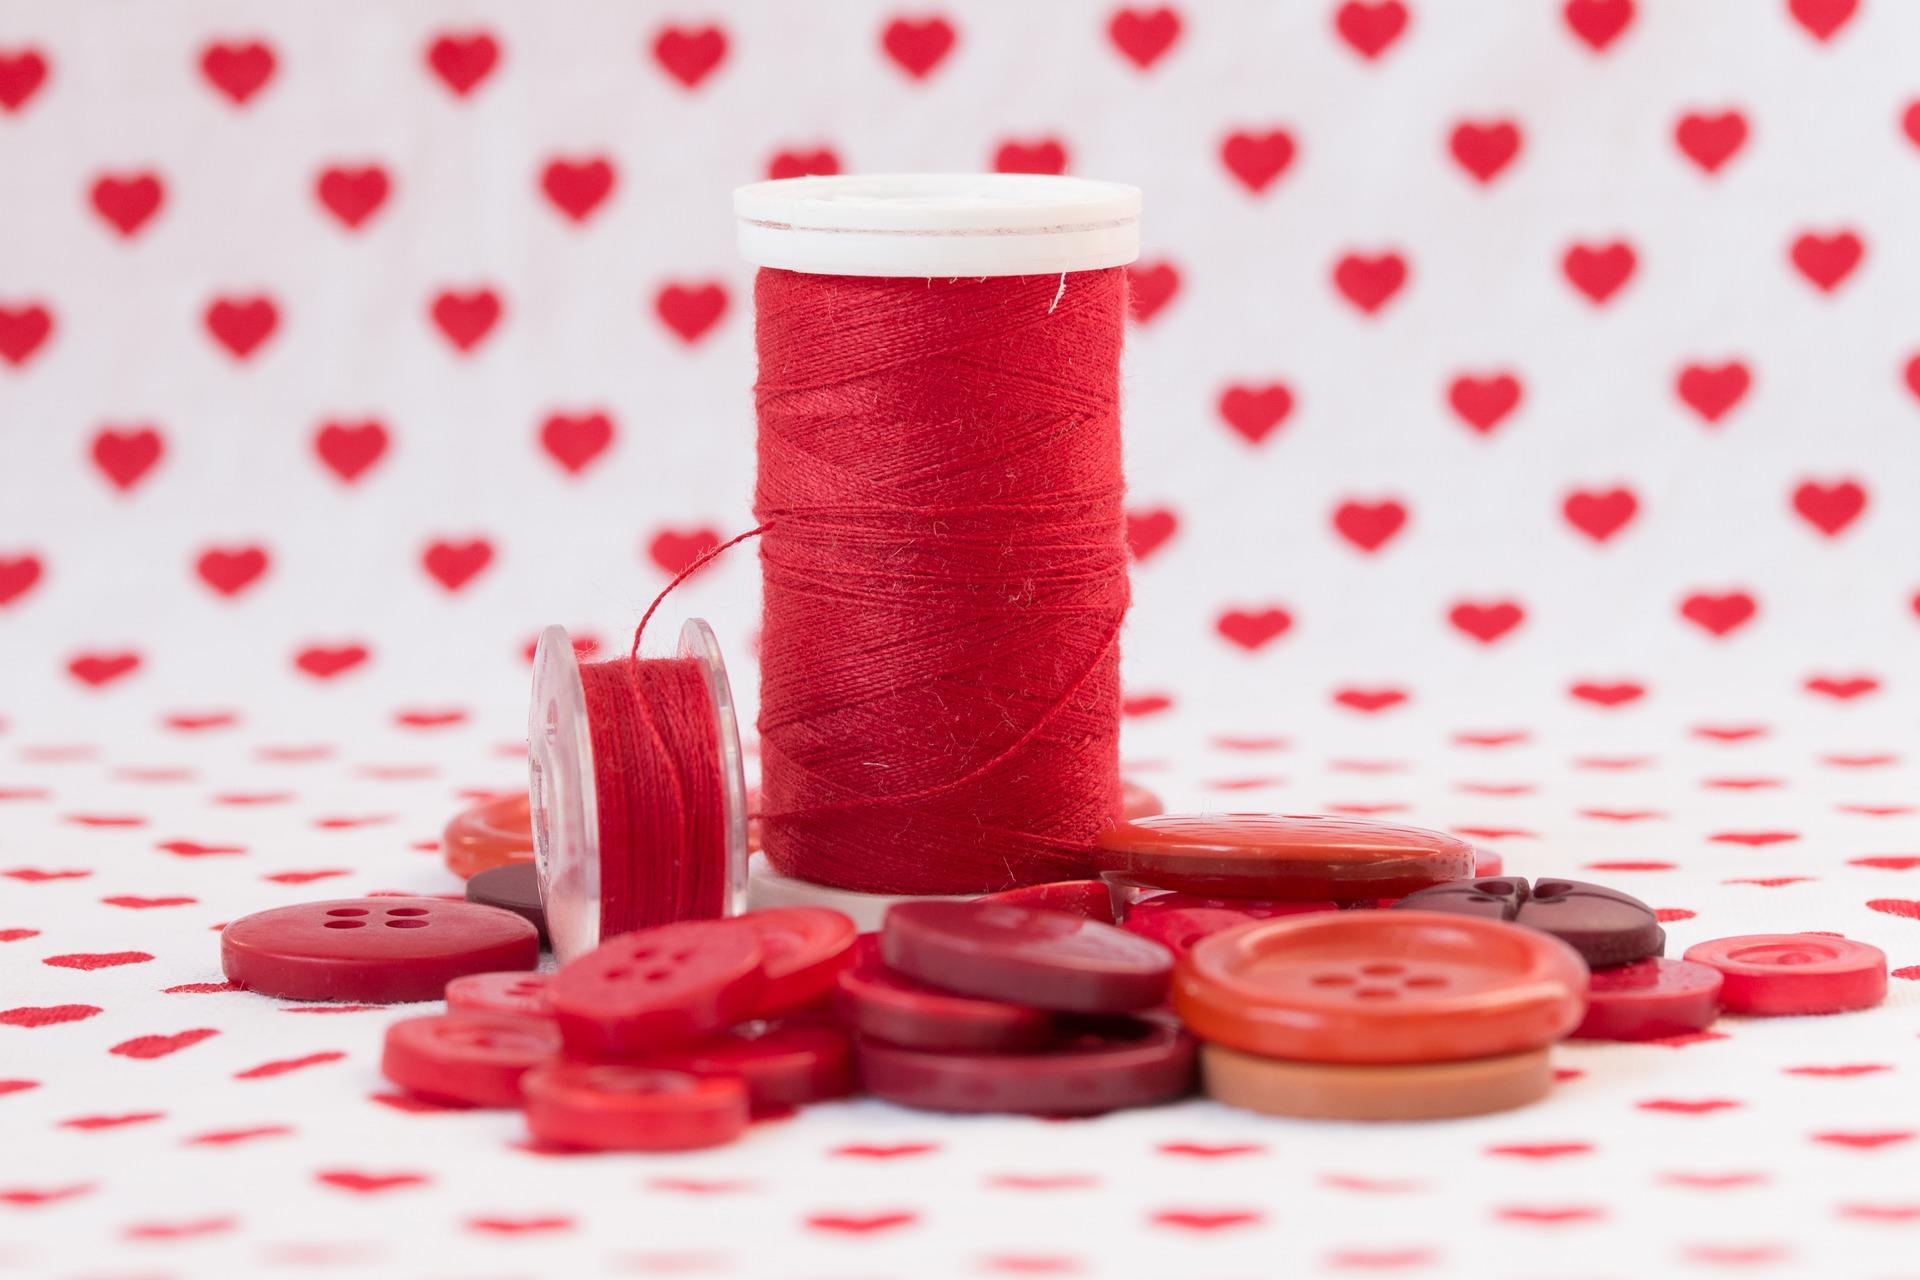
The Materials You Need to Sew a Button:
- A button
- Thread in the same colour as the button - there are special button threads that are more resistant than other types of thread and better for stitching on buttons
- A needle
- A pair of scissors
Preparation
Once you’ve chosen your button and thread, make sure you know how to thread your needle. Allow yourself a lot of thread. You can fold the thread to save you time and ensure that the button is firmly held. Make a knot at the end of the thread.
Position the Button
Align your button with the other buttons on the clothing and make sure that it fits in the buttonhole. Start on the inside of the fabric. Pass it through one of the holes on the button and pull.
Thread and Reinforce
For a button with two holes, pass the needle through the second hole and back through the fabric and pull the thread all the way to the end so that the button doesn’t move. Repeat this step several times by going through the first hole and then the second until the button is firmly attached.
Search for sewing classes Brighton.
Finishing
On the inside of the clothing, pass the needle in one direction and then make a knot. Cut the end of the thread.
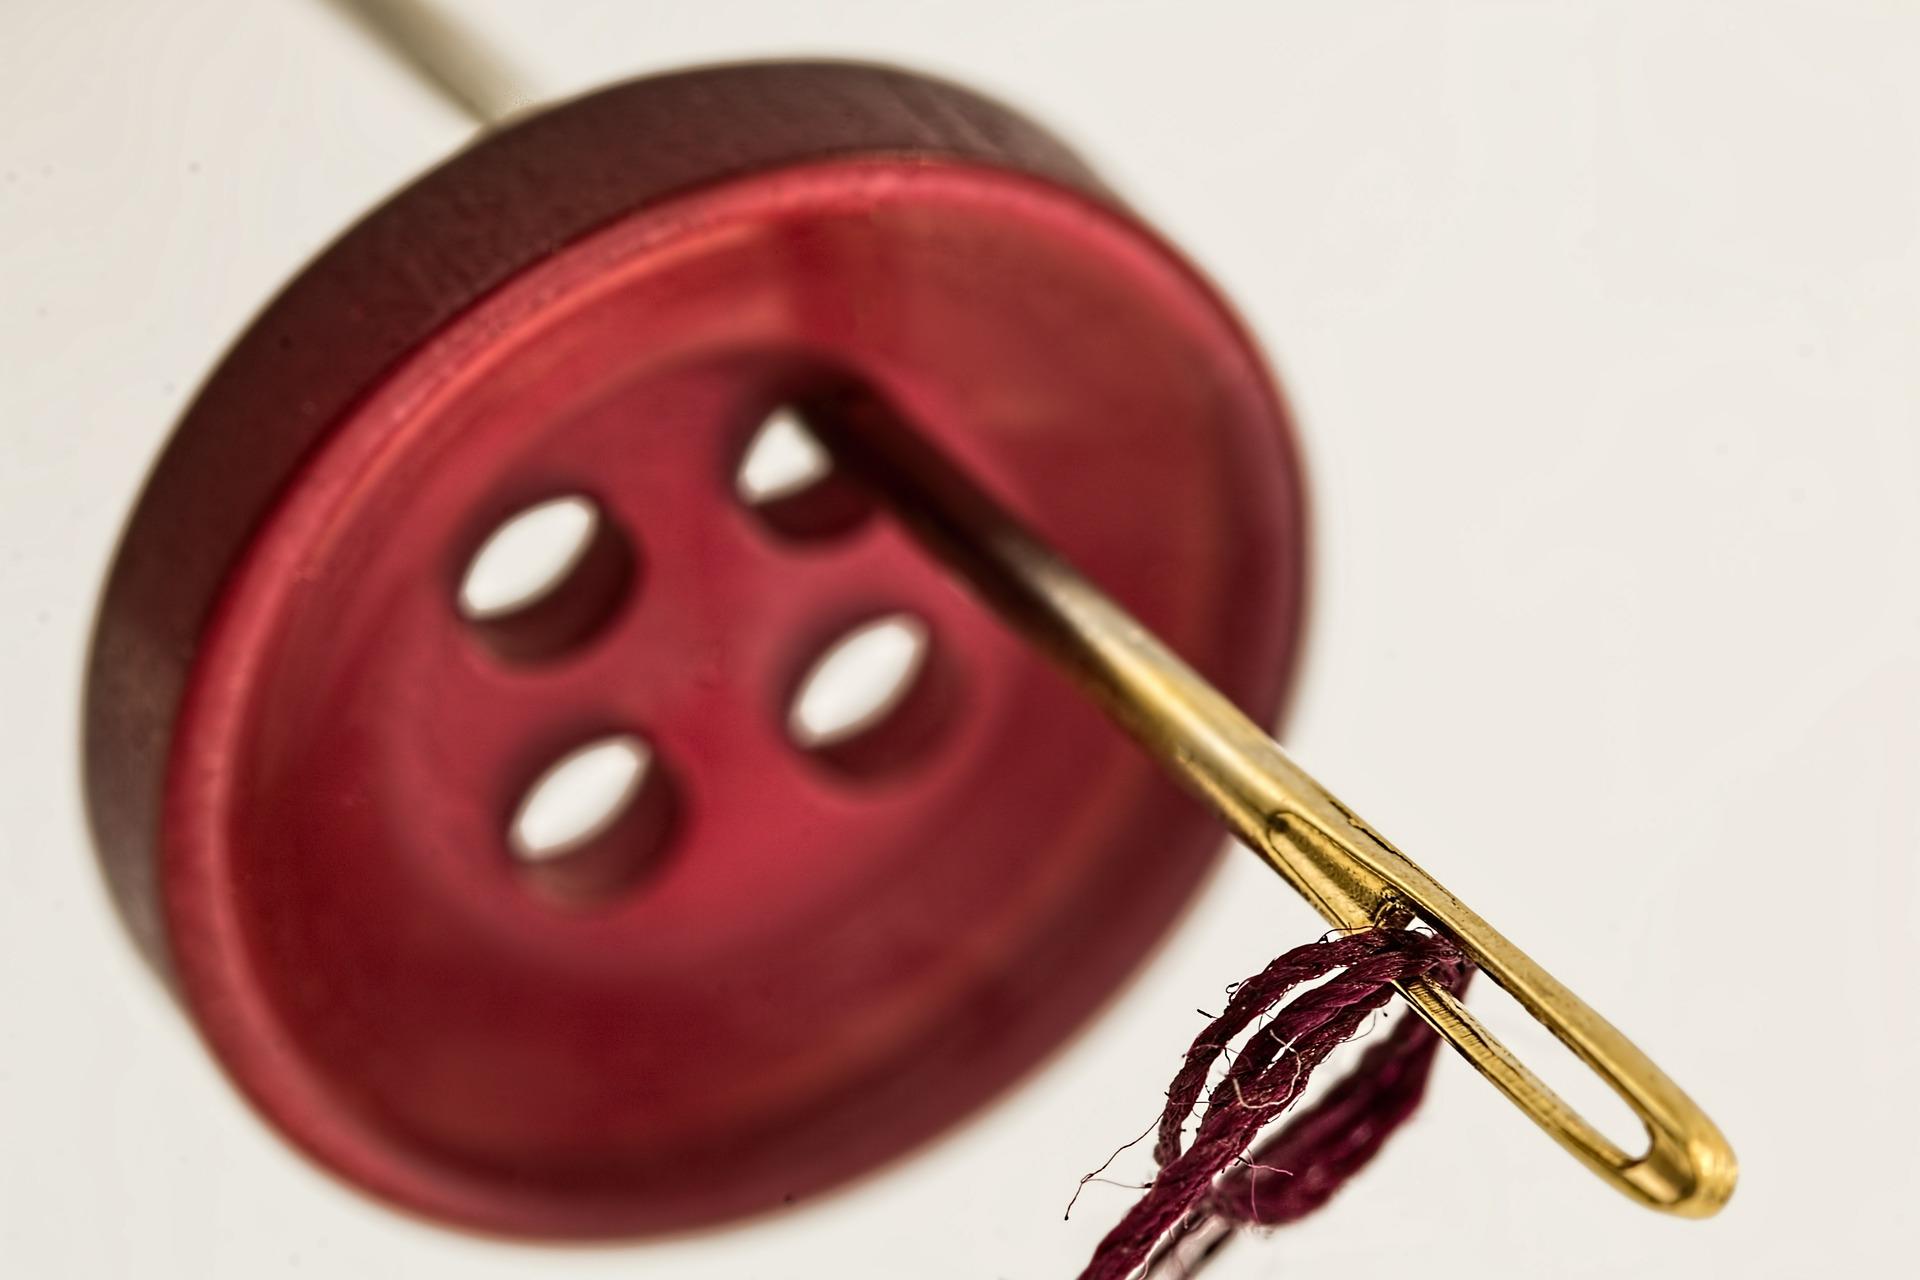
Sewing a Button with 4 Holes
If you’re sewing a button with 4 holes, pass the thread from one hole to another in either a diagonal or parallel pattern. Have a look at the other buttons to make sure that you’re using the same technique.
Sewing a Button with a Sewing Machine
If you don't fancy hand sewing a button, you can sew one on using a machine or with a special foot. Make sure the button’s in the right place and that the needle fits before you start sewing.
Once you’ve done that, you could move on to making your own dresses!
Google "sewing classes near me" and learn everything there is to know about sewing buttons.
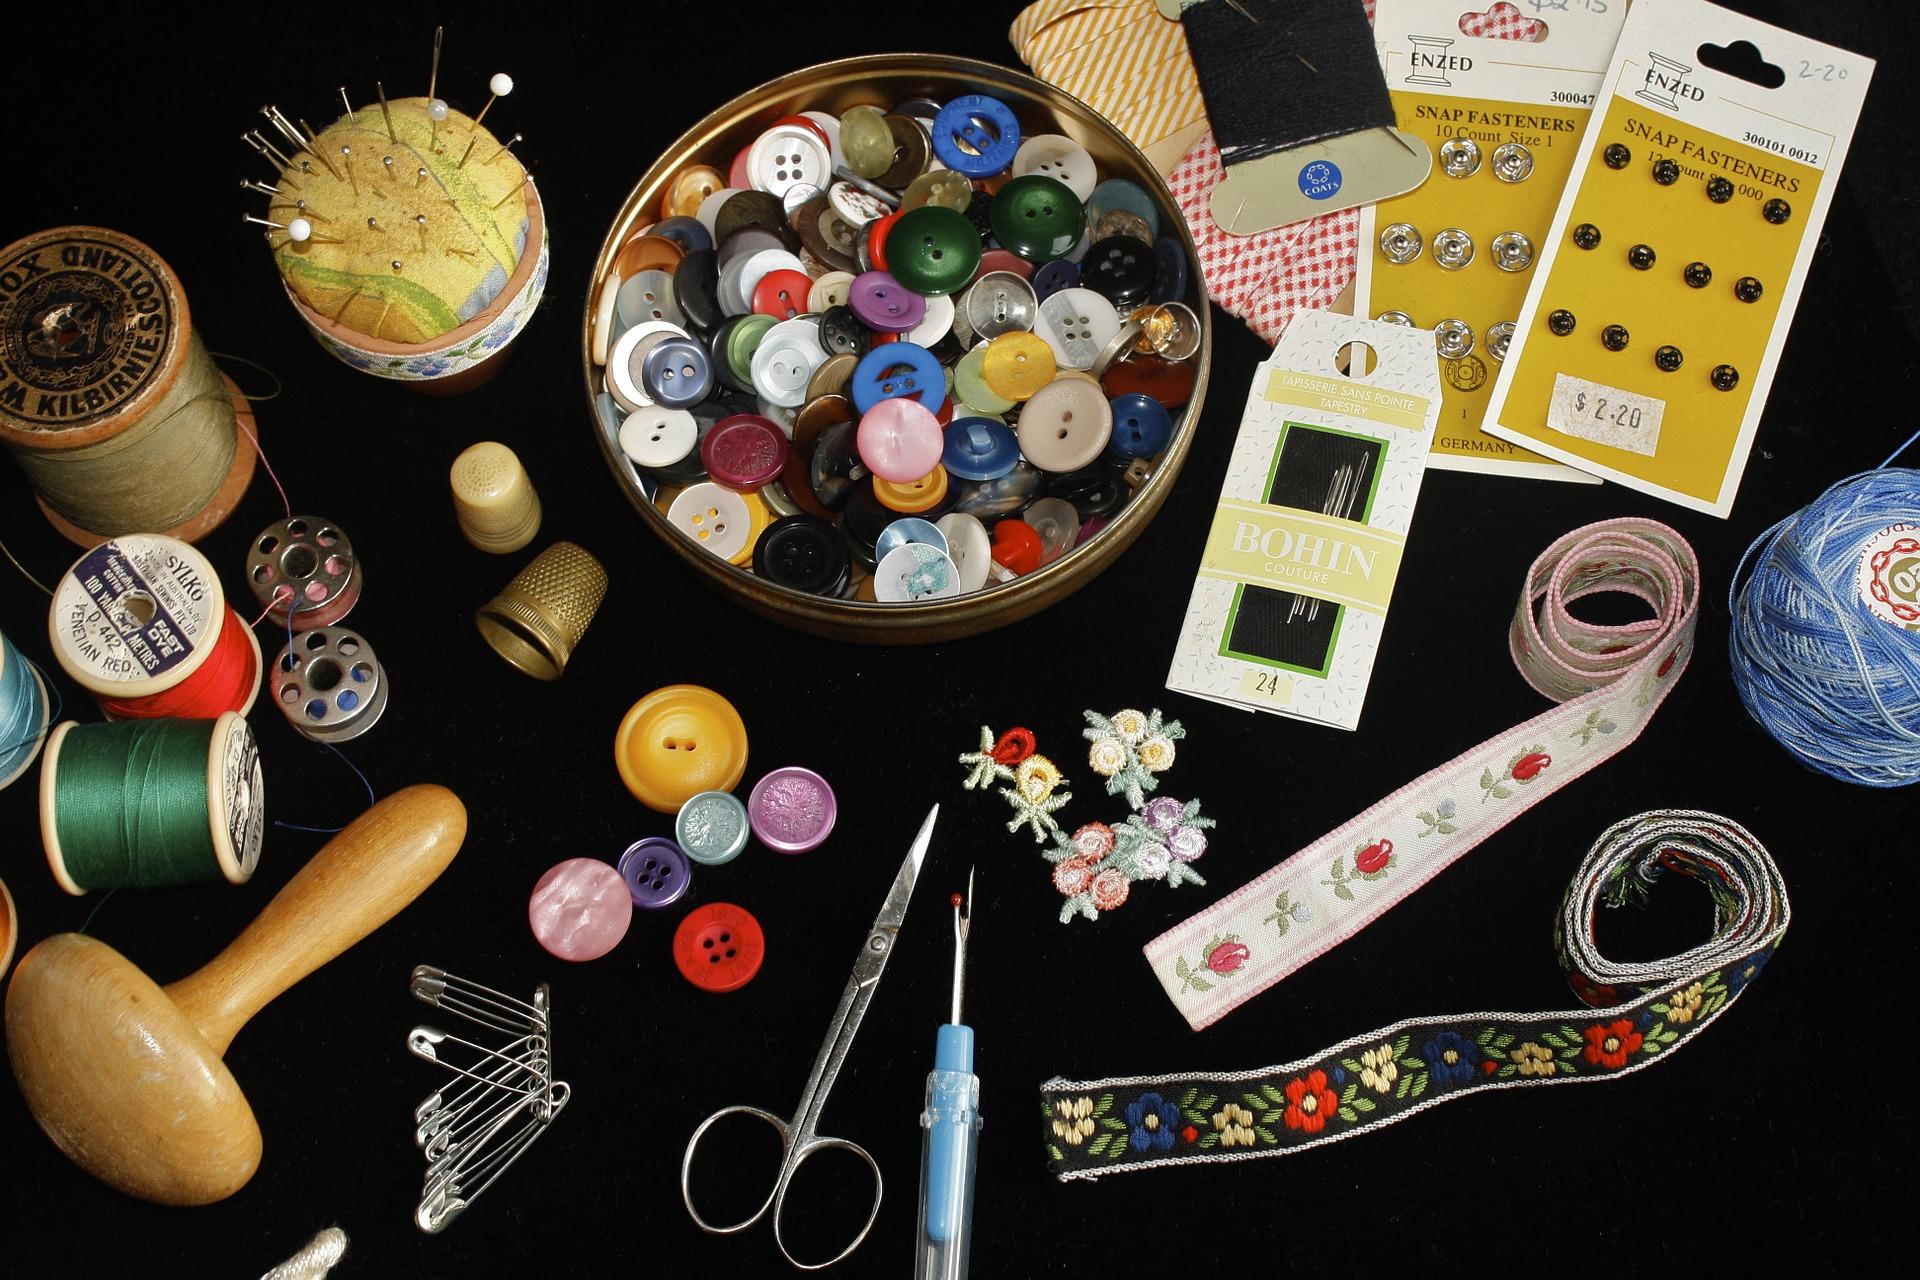
Sewing a Button: The Different Types
Whether classic or trendy, there’s a large range of colours, materials, and shapes for buttons. While plastic is the most common material, there are buttons made of wood, mother-of-pearl, rhinestone, leather, etc.
Flat Buttons with 2 or 4 Holes
These are the most common types of buttons. They’re used to fasten coats, shirts, jackets, etc. They’re easy to sew and they’re available in a variety of colours and patterns.
Shank Buttons
These are often used on coats and trousers. Shank buttons can seem difficult to sew because they’re bigger and move more than flag buttons. The principle is the same: pierce the fabric and pass the needle through the stem as close to the fabric as you can.
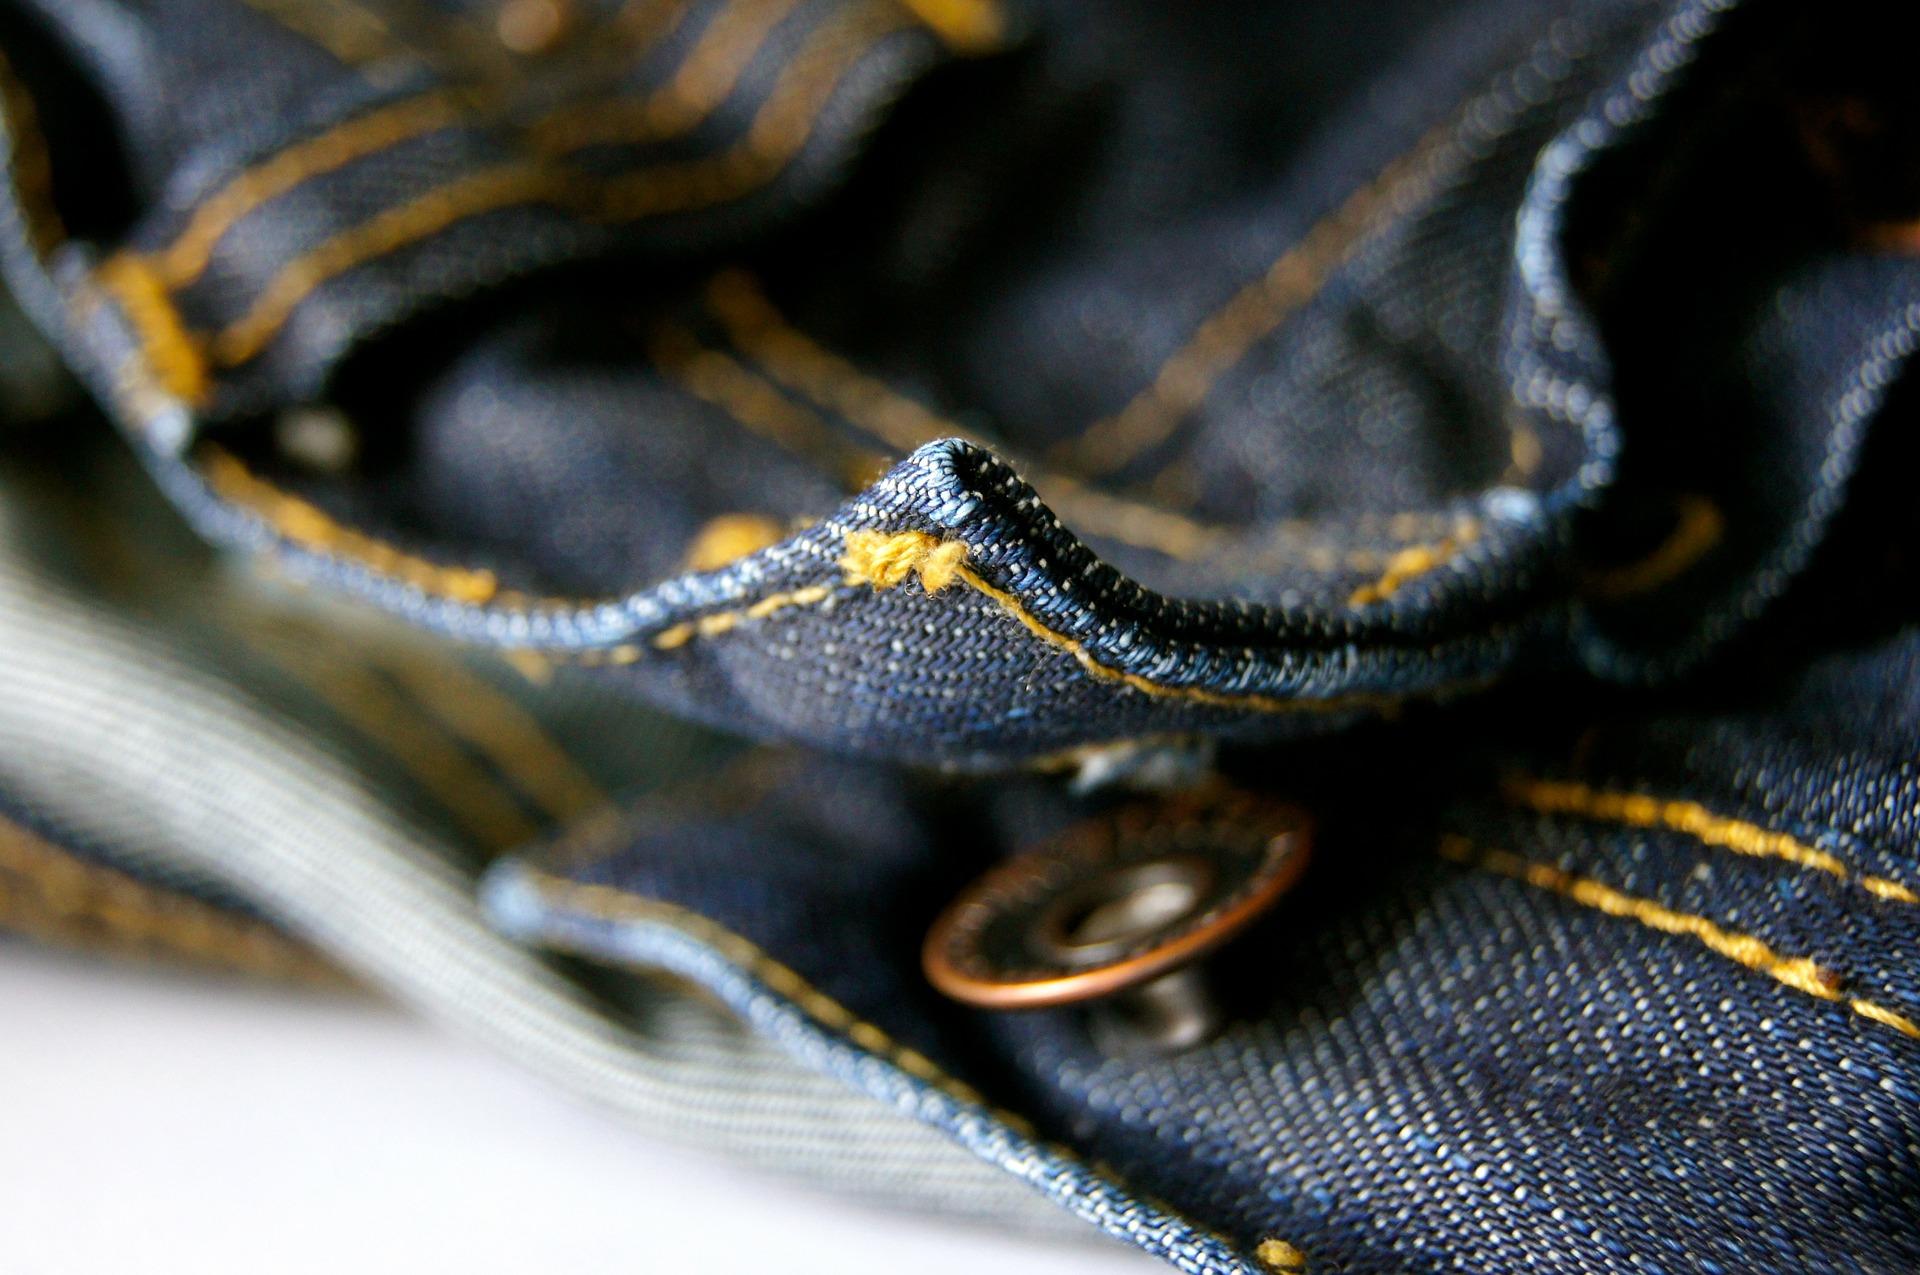
Snaps or Poppers
These were invented in Grenoble in 1885 and fasten by pressing two metal parts together until they “snap” or “pop” together. They can be sewn or riveted onto clothing (see “how to sew on snaps” below).
Toggles
Toggles come in two parts and are attached by threading one part through the other. They’re very common on duffel coats.
Special Buttons for Customise Your Clothes
While buttons are used to fasten clothes, they can also be used to decorate them! More and more haberdasheries are stocking buttons in lots of interesting colours and shapes. You can do up some old jeans or a military jacket by sewing a star, heart, or bee-shaped button onto them.
Why not use your new knowledge to sew together a bag?
The Best Blogs and Tutorials for Learning How to Sew on a Button
Are you looking to sew back on a button that’s fallen off? Here are some of the best blogs for people learning to sew:
- Tilly and the Buttons: You may remember Tilly from The Great British Sewing Bee. Her website has a great blog full of tutorials on sewing, printable bag patterns and purse patterns to follow, and online classes for those wanting to learn more about sewing and making their own clothes.
- Whipstitch: This blog has tonnes of information on making clothes for both adults and children as well as explanations of sewing techniques and terms.
- Sew Over It: This blog includes plenty of tutorials (including video tutorials) and there are free sewing patterns, books, and e-books available through the site.
- Purl Soho: This website belongs to a shop in New York City but just so happens to have plenty of projects and tutorials for people interested in making their own clothes, quilts, bags, and sewing arts and crafts.
Learn How to Sew on a Snap
There are two types of snaps: those that need to be sewn on and rivets. You don’t necessarily need to be an expert seamstress to sew on a snap.
Sew-on Snaps
Snaps are quick and easy to sew on. They’re made of a “male” and “female” part which need to be sewn on face-to-face to ensure that they snap together effectively. The male part is sewn on outward-facing part of the clothing and the female part points inwards. The snaps won’t ruin the clothing and they can be easily removed.
Snaps Ribbons
Snaps on a ribbon are a lot more useful since you can sew on several buttons at once. They’re already attached to two strips of fabric with the male parts on one ribbon and the female parts on another.
You just have to sew the two ribbons onto your clothing.
To do this.
- Pin the ribbon with the male parts facing outwards and the female parts facing inwards. Make sure to line up the two ribbons and align the top of the ribbon with the top of the opening.
- Sew the ribbon on using a sewing machine, if you have one.
- Pin the ribbon with the female parts on the inward-facing part of the garment, ensuring that they’re aligned with the male parts. Sew this part just as you did the other part.
Rivet Snaps
These snaps are easy to put on because you don’t need to sew them. You’ll need rivet pliers, though. Once they’re on, they’re on.
You could start making your own trousers, too!
The Best Online Videos for Learning How to Sew on a Button
If you're looking to get into sewing, making your own clothes, or arts and crafts, these are some of the best YouTube channels to visit:
Craftsy
It doesn't take a genius to work out what this channel is about (it's crafts, by the way!). You can learn about quilting, knitting tops, sewing, as well as kitchen crafts like cooking and baking.
Pink Chocolate Break
This channel has playlists on different types of garments and different levels of abilities. Once you've got the hang of the easy sewing projects, why not move onto more advanced stuff.
Stitchless TV
This is a good channel for beginners. In fact, this is the main focus of the channel. If you're an absolute novice, looking for a bag pattern or information on stylish projects, or wanting to make a summer dress, this is the place to go!
All Free Sewing
If you're on a budget, you probably enjoyed seeing the word “free” in this channel's name. There are loads of great projects and sewing tips on this channel. There are tutorials for beginners, projects for children (like making clothes for a doll), and how to recycle old clothes.
Professor Pincushion
This is a channel that's worth checking out once you've got to grips with sewing as there are plenty of advanced sewing techniques explained in great detail. However, the delivery is very clear and the methods are explained step-by-step so you might be checking out this channel sooner than you think. If you're looking for tutorials on embroidery, embellishment, ruffles, or pleats, this is the place to go!
And that’s all there is to it! If you still do not get itm check sewing courses London.
Summarise with AI:
Did you like this article? Leave a rating!

