
The practice has become fashionable in recent years following the success of TV shows the Great British Sewing Bee and the Great Interior Design Challenge. In 2016 a survey of 1,438 Britons revealed one in four 18-30 year-olds have given sewing a go in the past 12 months.
A surprising 66 per cent of Britons claim it is one of theirtop three favourite activities to help them unwind, with 82 per cent admitting they find it more relaxing than watching TV.
These figures testify to the enduring appeal of this practice among other hobbies and pastimes in the UK.
However, learning to sew and embroider is far from easy.
If sewing is easy for some, it is a different kettle of fish for those who have never learned.
After you’ve sewn by hand and made a few pieces - a trouser hem, summer dress, bustier, cute tops, flared skirt or a beach bag - thanks to the Marie Claire blog and the sewing classes on Superprof, you’ll be able to take your sewing to the next level.
You can always improve, whatever your level and become a proper seamstress!
In sewing, you start off with a small sewing kit, then you build up to a well-filled sewing box, after which you are able to go out, choose your own fabric and use your sewing machine like a pro.
The last step is to make your own sewing pattern.
Whether you’re sewing a dress for a girl or an adult woman, sewing a handmade sports strip for sports training or sewing a cushion cover, you cannot avoid this fundamental rule: having a basic pattern.
Can you actually sew a pretty dress, shorts, clothes and accessories without a pattern?
In this article, I will try my best to explain how to make a sewing pattern from scratch.
Want to find sewing classes London?


What You Need to Make a Sewing Pattern
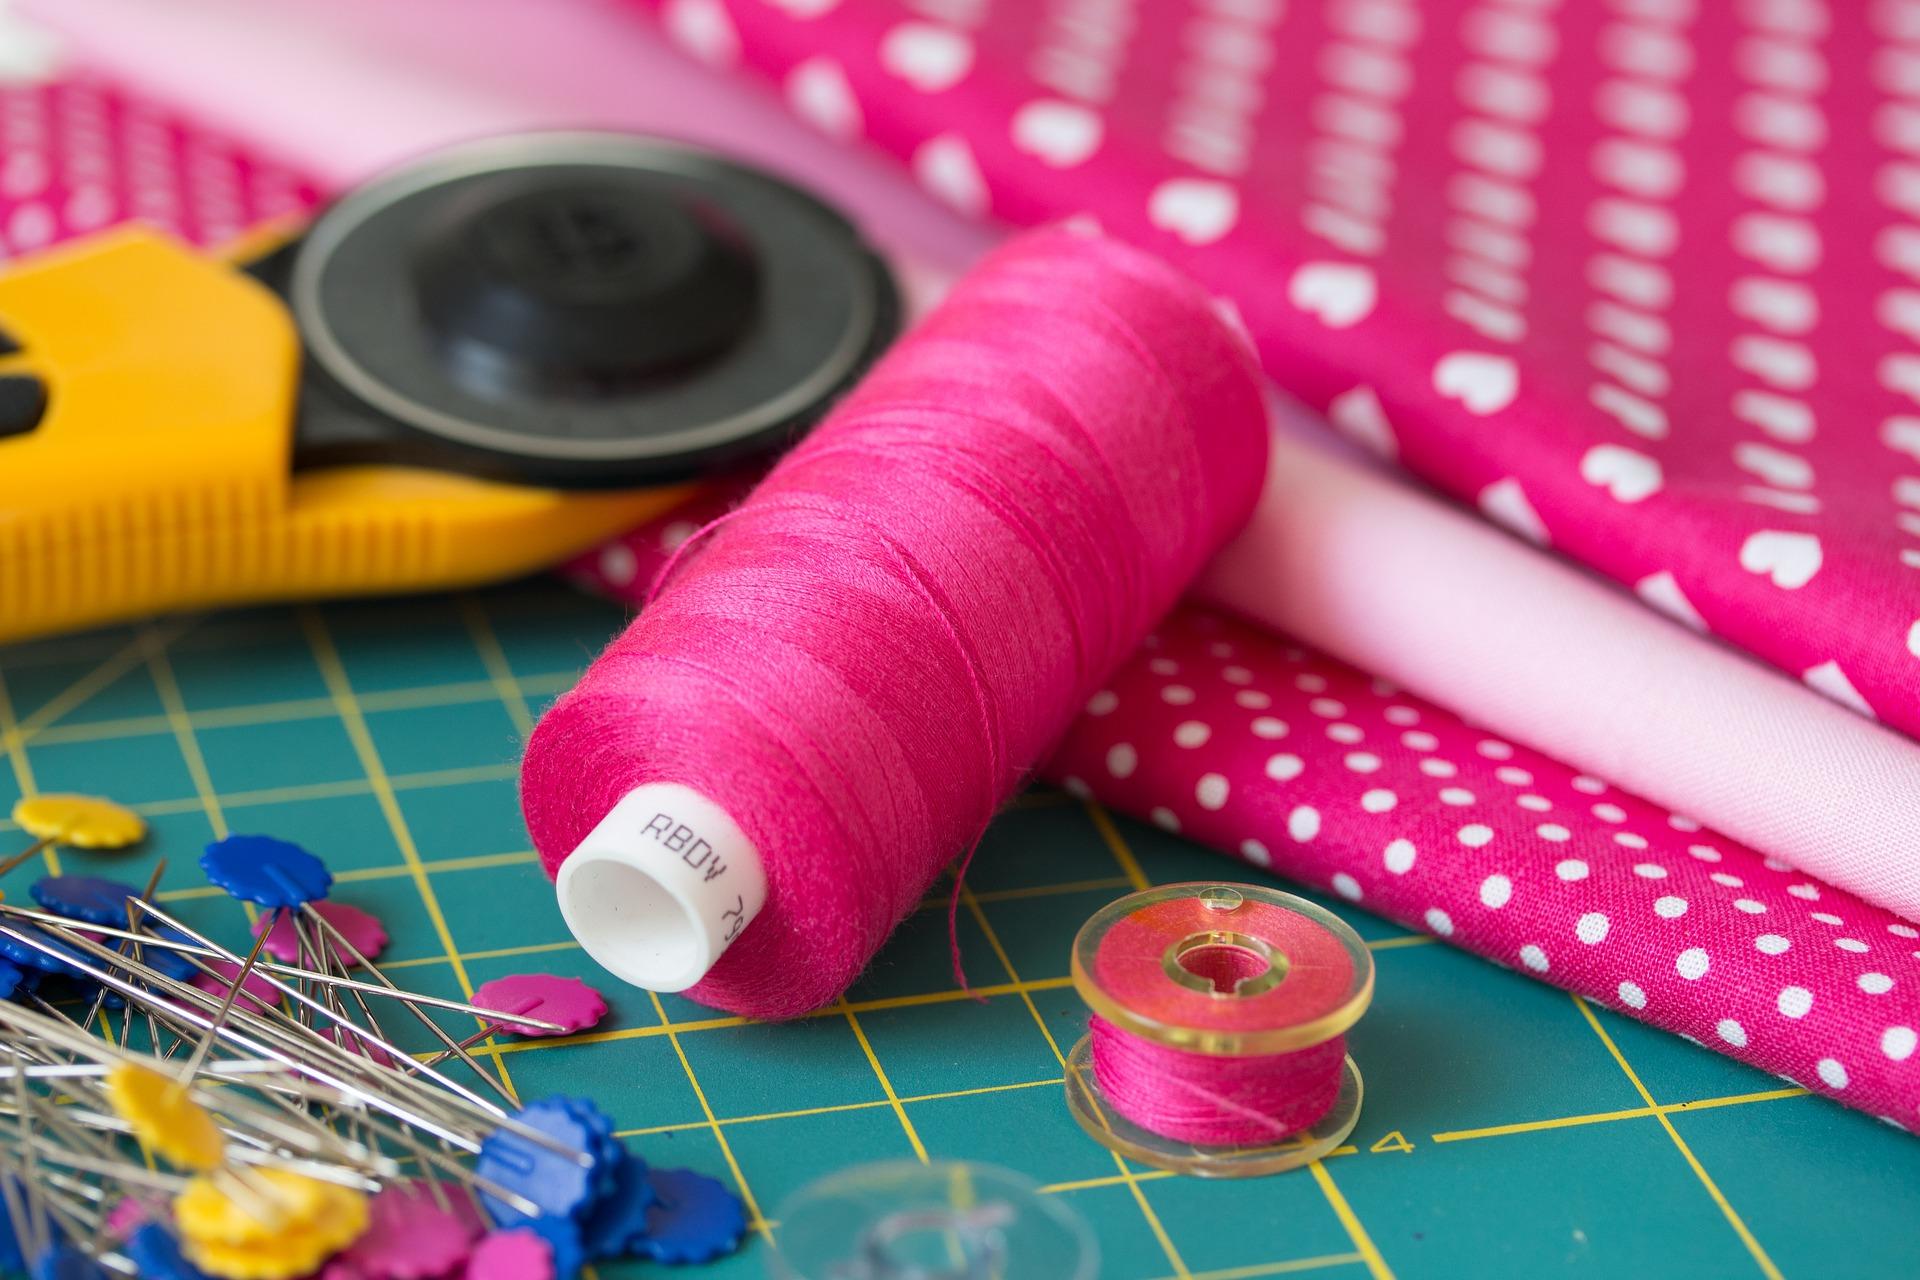
To make your own pattern sewing, you’ll need a few bits and bobs.
Making a customised sewing pattern requires precision and care, so you need to be well equipped.

First, five basic tools:
- A ruler,
- A pencil,
- Sellotape,
- Mechanical pencil (fine-grained),
- A pair of paper scissors.
Also discover how to choose your sewing needles...
From Paper to Pattern
To make sewing easy and make every pattern from scratch, the novice seamstress has to draw the pattern dimensions onto paper.
Pattern paper can be purchased at fabric shops, small haberdasheries or online haberdashery websites.
Pattern paper is usually sold in rolls of 10 to 15 meters, and their prices vary between £4.90 and £9.90 according to the suppliers (Fabric Land, Amazon or William Gee for example).
There are several different types: paper with white pattern, squared paper, tissue paper, kraft paper... Whatever the material, the paper must be relatively transparent, enough to be able to trace an outline.
The Japanese Ruler
Flexible and very practical, it's perfect for drawing the outline of every millimetre of fabric, and is very easily placed in the corners and curves of fabric.
A standard ruler is usually 50cm by 5cm, squared over its entire surface. Align the edge of the fabric on the desired graduation, and draw.
The Set Square
Just like in math class, the set square is used to make perfect angles. Right angles are important in sewing so this tool is key.
The French Curve
A drawing instrument, this tool makes it possible to trace the natural curves of women, men, girls and boys more easily than freehanded with a pencil.
Check for sewing classes Glasgow here.
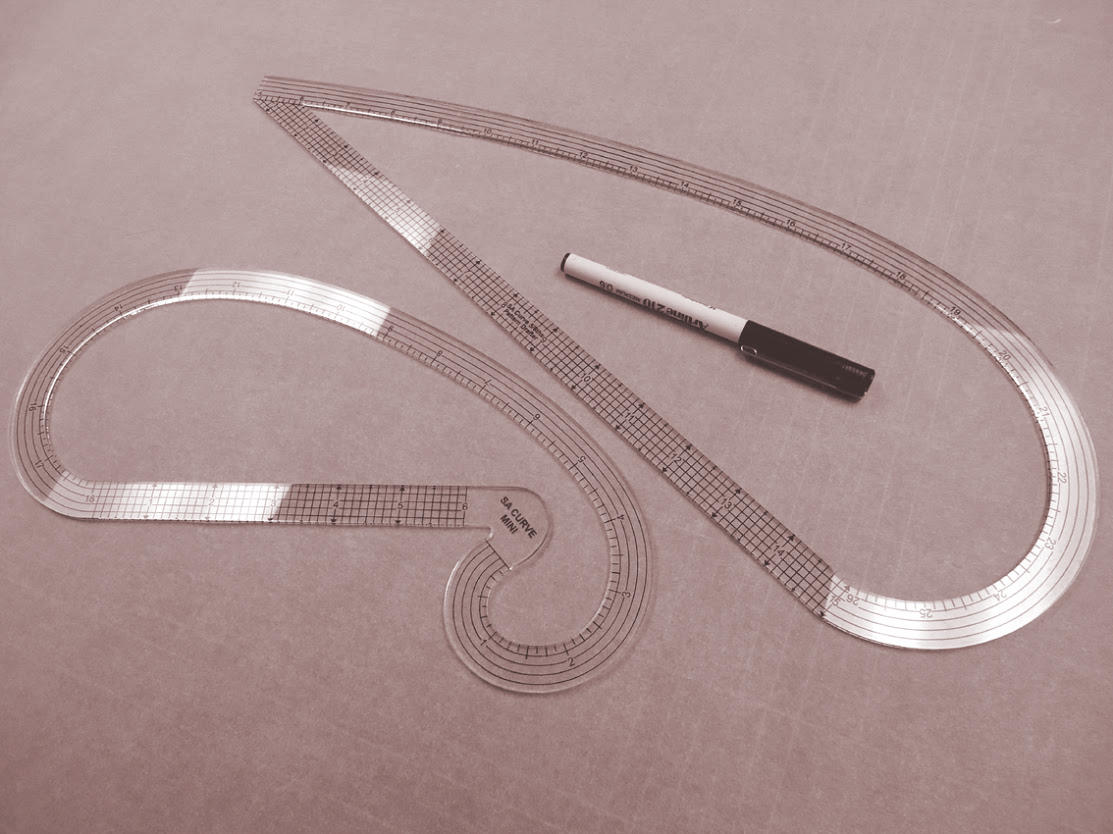
For the sewer who copies the lines of patterns, the French curve seam helps to produce beautiful renders accurate, efficient and fast.
How much does it cost?
A French curve costs between £4 and £8. Suffice to say it won't break the bank.
The Pattern Roulette
It is a sprocket wheel mounted on a handle, made of iron, plastic or wood. With this tool, you can mark a point or clip the paper.
Some seamstresses advise against it, on the grounds that you lose precision and it frequently slips out of line.
There are several types: roulette with serrated pattern, professional roulette with oak handle, double tracing roulette, wooden roulette, from £2 to £10.
That's it, you now have everything you need to get started.
Why not take a sewing class to learn how to use your sewing machine?
How to Take Measurements
If you're not using an already existing pattern or if you're not using an old garment that you already wear to copy the outlines, you will have to take measurements before drawing your pattern.
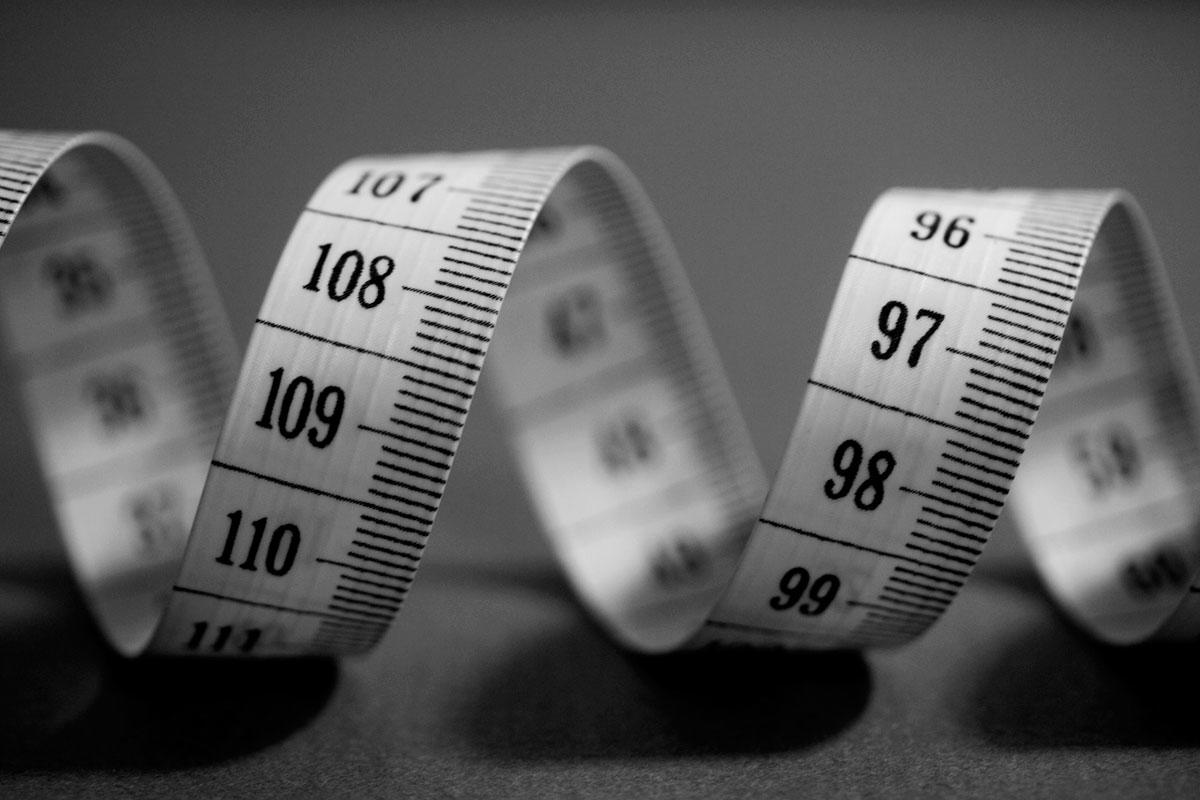
You need two people: one to measure the other. Stand upright, barefoot, arms by your side.
Here are the steps to take measurements for a woman:
- Put one end of the tape at the waist,
- Put the other at the pelvis (under the hips),
- Stand at the woman's shoulder,
- Draw a mark at the base of the neck and at the edge of the shoulder with a pencil,
- Keep the satin or plastic tape measure straight around the chest, waist and pelvis,
- Measure from the waist to the pelvis,
- Measure the distance from the neck to the waist for the back and the front,
- Then calculate the length of the shoulder,
- Measure the middle of the back, the shoulder blades, and the chest,
- Measure the depth of the neckline, the height of the arms (from the armpit to the waist).
To take measurements for a man, the process is the same.
There you go! You are now be able to make your own pattern to sew a skirt or a harem pants, a cute little dress, sew a small bag or even remake your entire wardrobe.
Discover also our best tips for learning to sew...
Techniques For Making a Sewing Pattern
Making a free pattern is not that easy. But it's doable if you follow the right method.
So, how do I make my own pattern now that I have the equipment and taken the measurements?
Using an Already Made Pattern
When you've just started, taking an existing sewing pattern is a pretty safe bet.
It will be enough "just" to modify a basic pattern to customise according to your specific measurements: adapt the lengths, enlarge or shorten the middle of the A-line, add a neckline, insert, expand the size, etc.
Duplicating a Garment
Very often in our wardrobes, we have two or three pairs of jeans or well-worn t-shirts, which we wear more than any others.
Why not make more of the clothes you already love.
A simple trick to make a new pattern: lay a vest top, skirt or t-shirt on pattern paper and pin each end of the garment.
Folds are your number one enemy, make sure to get rid of them.
All you have to do now is trace the outline on the paper with a pattern, tracing paper or silk.
Discover also how you can put material remnants to good use...
Making a Custom Pattern
How do I do it?
By putting measurements onto paper the sewer gets a custom-made pattern to work from, perfectly tailored to their own shape and size.
It's a real piece of work because the slightest calculation or measurement error will be blatantly obvious.
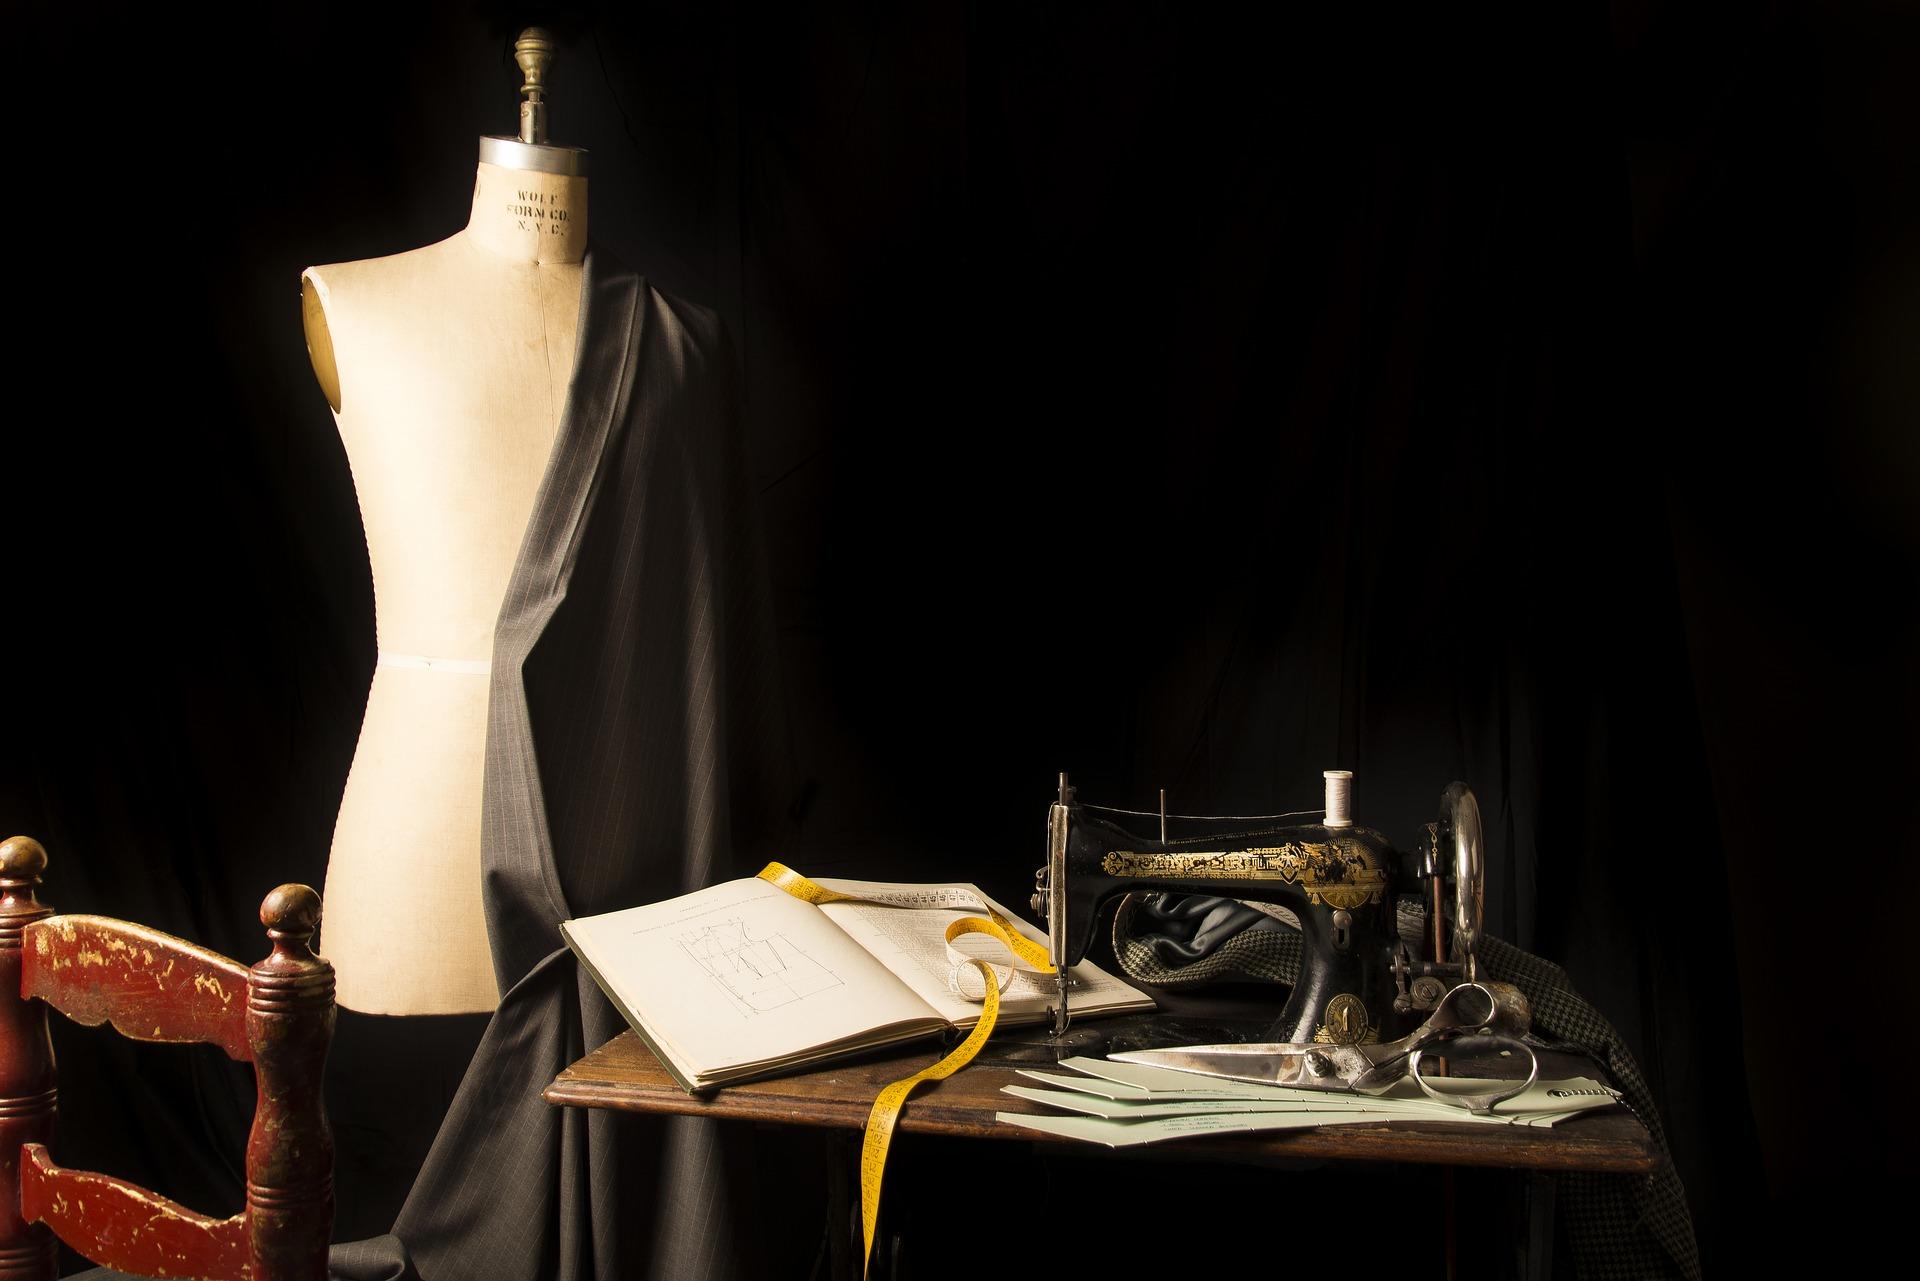
Using a Mannequin
A method that's certainly complex and demanding, it gets your creative juices following: moulding.
Moulding is creating clothes using a sewing dummy.
It requires well experienced seamstress because you have to drape the cloth directly onto the mannequin, on which it will mold, then you pin it and cut the fabric in three dimensions.
If the molding is done well, the sewer will get a piece of fabric which they then put the shapes on a paper pattern to create the final piece.
Careful: to do the molding, you have to master the anatomy of the human body, and have a sewing mannequin that is your size (which can be expensive, around £140 to £150).
Some Words of Warning When Drawing your Pattern
If the patterns differ depending on whether you want to make bags and wallets, a wrap skirt, an origami dress or bodice, some general rules must be followed so you can sew later with ease.
Before taking your sewing scissors to your pattern - either from the measurements taken, or from a previously made garment - it is important to cut 1cm from the edge.
Why?
This represents the width of stitching done on your sewing machine or serger, so as not to cut into the actual size of the piece being sewn.
Then check the right angles.
In a sewing pattern, the right angles are everywhere: angles at the bottom of the trouser leg, angles at the armholes, etc.
If these are slanted, the final seam will not be in a straight line, which can cause small aesthetic problems later on.
It is important to check that the points and folds have been marked.
To identify each part, we recommend that you note the name of the pattern on the front, back, pelvis, top and bottom.
We advise you to hang your patterns as soon as you've finished, on the wall or on the back of a chair to stay organised.
And there you have it! Who said it was hard work to make a dress?
Discover how you can perfect your sewing technique...
Summarise with AI:
Did you like this article? Leave a rating!

