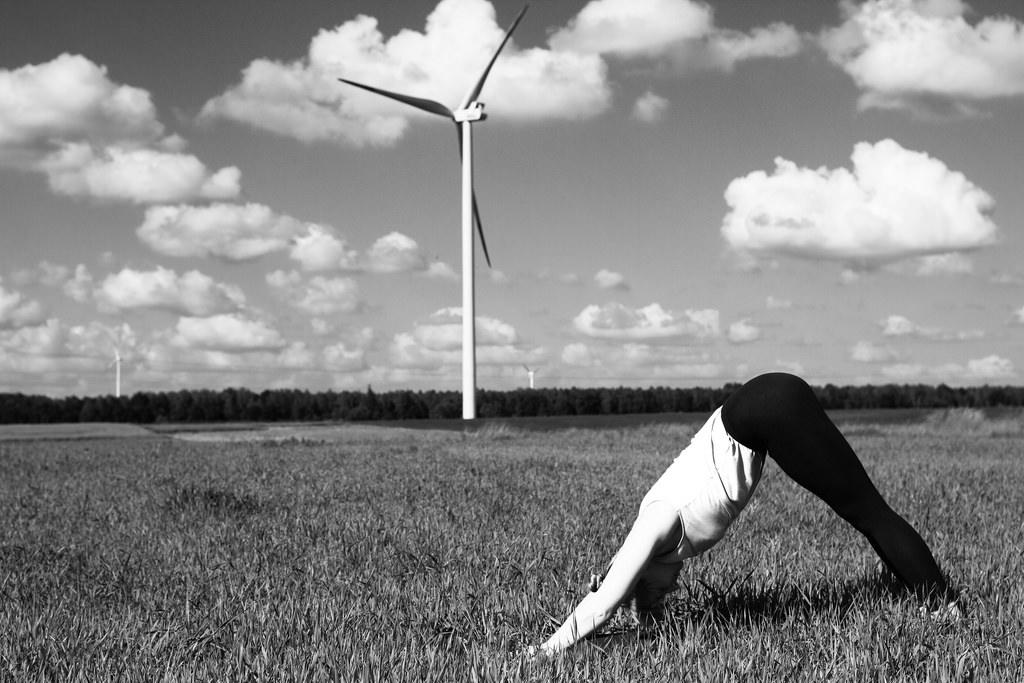

Downward-facing dog, or Adho Mukha Svanasana, is an essential yoga position for beginners to learn. This move is one of the most recognised and easy yoga poses, and it’s a critical foundation and transition for many other positions too.
Downward dog pose is a great starting point for your yoga – and even just for a morning stretch - and it’s an easy transition into other poses such as Tadasana, plank, cobra and child’s pose, for example. It can also be used as a resting pose and strength-builder for the moments between movements.
Downward-facing dog pose is also a wonderful way to stretch out and relax, as it straightens the spine and stretches out your limbs, abs, buttocks and shoulders. It’s a wonderful way to stretch down after a cardio or weights work out, or at any point in the day when you feel a bit tightly wound!
We’ve put together a step-by-step guide to show you exactly how to practice your downward dog pose, and how to perfect it so that you can start incorporating it into your routine.


Preparation
Make sure you’re wearing comfortable clothing that you can easily stretch and move about in. If you’re wearing clothes that are too tight, or even too loose and floaty, you won’t be able to move as easily and this will hinder your breathing and concentration.
And remember, although this pose isn’t particularly risky in any way, you always need to practice yoga safely. For this, you might want to invest in a yoga mat if you don’t already have one.
Although mats aren’t always necessary (especially for standing poses), they are a great way of balancing and holding poses without slipping, which is important for downward dog as you will be applying pressure to your hands and feet.
Once you’ve got yourself comfy and ready to go, come forward onto your mat and get started with the 5 detailed steps below.
Downward Dog: Step-by-step Instructions
Step 1
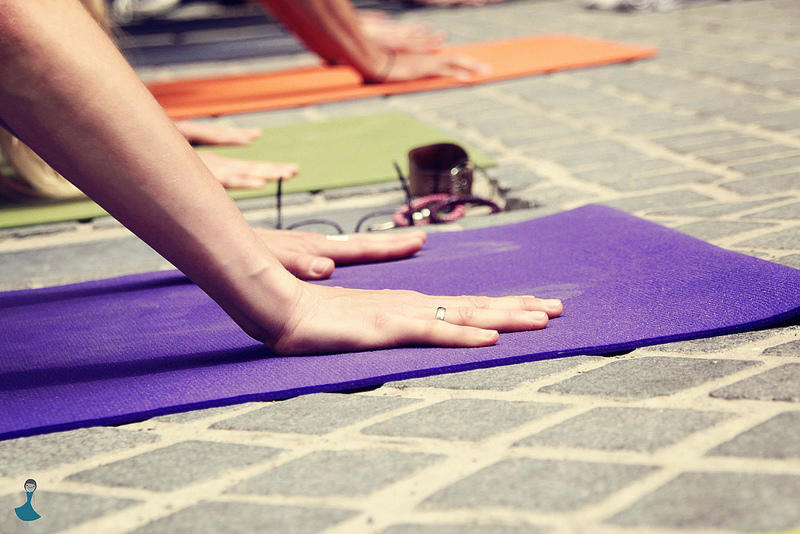
First things first: getting your hands and feet in the right position. This is how you will create and hold your balance, so weight distribution is important.
Come onto your mat on your hands and knees, making sure your hands and wrists are below or slightly forward of your shoulders on the mat and that your knees are bent directly under your hips. The folds of your wrists should be parallel to the top edge of your yoga mat. Stretch your elbows out and relax your upper back and shoulder blades.
Now spread out your palms and fingers so that they are either parallel to each other or slightly turned out – most people find the latter option easier for balance and strength. Press firmly into your palms and knuckles, distributing your weight evenly across your hands.
Step 2
Secondly, as you exhale, tuck your toes under and lift your knees up away from the floor. Start off by keeping your knees slightly bent and your heels lifted off the floor, so as not to strain your leg muscles.
Slowly lengthen your back and tailbone, reaching your pelvis up to the ceiling and drawing your buttocks and sitting bones up towards the wall behind you to really stretch out your spine and torso.
Step 3
Now gently start to straighten out your legs. Start on an exhale and push the tops of your thighs back, stretching your heels out as you do so.
You can then go on to straighten your knees, but don’t strain them or lock them as this can cause injury. Only stretch out as far as feels comfortably challenging, and if you feel pain then loosen the stretch.
You’ll eventually find that you can stretch your legs straighter and keep your feet flat on the floor with practice, so don’t worry about making the perfect V shape in the early beginner stages.
Step 4
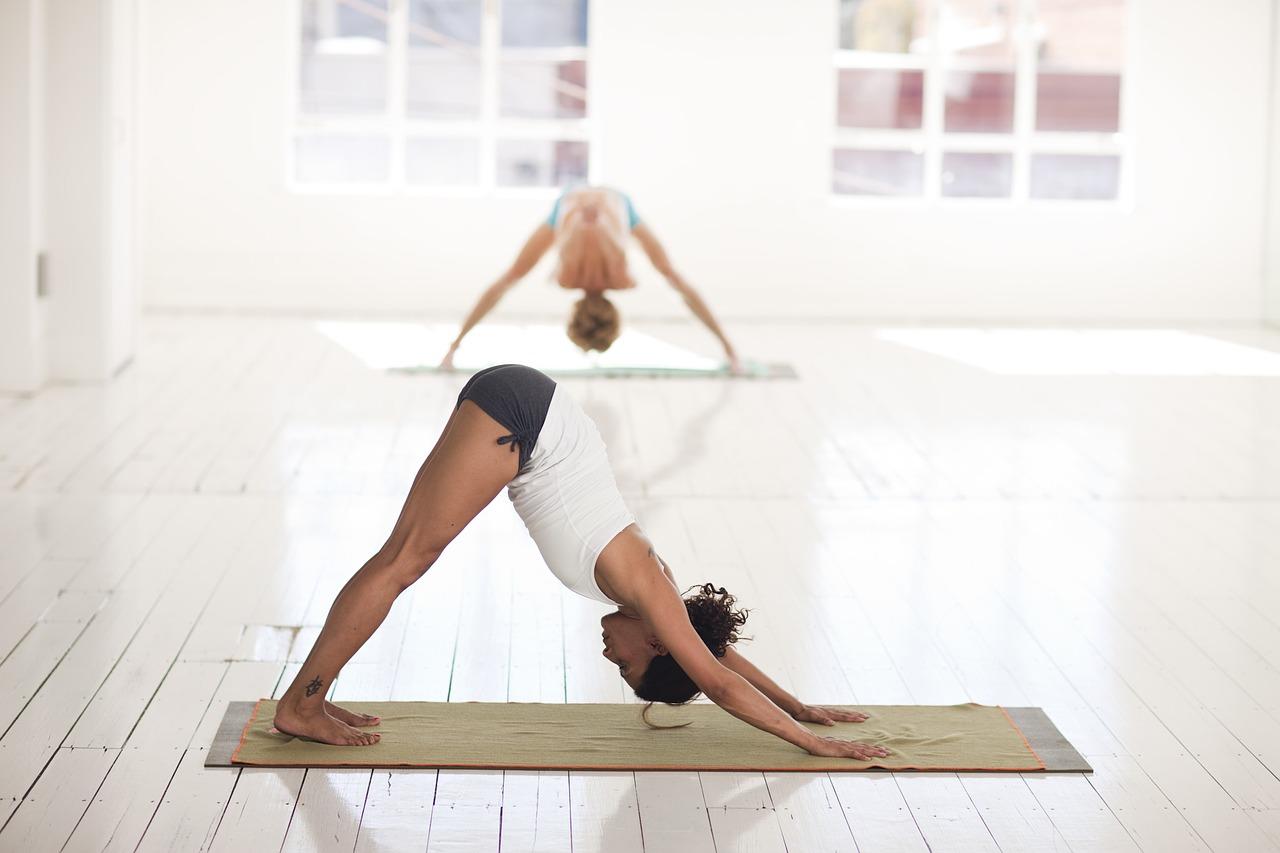
Once you’ve found your balance, it’s important that you are able to maintain it. This really comes from keeping your arms and legs strong, getting as close to a V shape as you can at this stage.
Really press into your palms and the bases of your index fingers into the floor, firming up your outer arms as you do so, pulling this strength up from the wrists into your shoulders.
Keeping your shoulders strong is really important in the downward dog yoga move: make sure your shoulder blades are firmly against your back, keeping them wide and drawn back towards your lower back.
Keep your head strong – don’t let it hang loosely between your arms. Use the strength in your shoulders to hold your neck and head firmly between your upper arms.
Find yoga classes near me here.
Step 5
Make sure once again that your weight is evenly distributed between your arms and legs – it might sound difficult, but it’s all about striking the perfect balance. If too much weight is on your hands, you might start to strain or slip. Making sure you are in a V shape and the weight is evenly spread is the best way to hold your downward dog.
How long you hold this pose is completely up to you. Some people use this easy position as a transition between other yoga poses, and so might only hold it for 2 or 3 breaths at most before moving into another position.
But the best way to get the most out of your yoga moves is to hold them for a decent amount of time – that’s how we build up strength and stamina and start making real progress.
You can do this by holding your downward-facing dog for about 8-10 deep, long breaths. Completely fill up your lungs as you inhale, and totally empty them as you exhale. This is critical for balance and relaxation.
Following these easy steps will help you perfect your downward dog, with an extra focus on how your body feels as you breathe and hold the pose simultaneously. Ending the posture with a few moments in Shavasana or Padamasana can relax you as you end your practice.
Physical Benefits
Mastering your Adho Mukha Svanasana has so many wonderful benefits: it can help improve digestion, relieve headaches, menstrual pain, back pain, insomnia and fatigue. It has shown a calming effect on the brain which can relieve stress, mild depression, and even lower high blood pressure.
Downward dog also has therapeutic benefits for conditions such as asthma, flat footedness, sinusitis and sciatica.
This basic yoga move is also great for stretching in general and building up strength in the hands, shoulders, arches, calves and hamstrings.
Modifications & Variations
A strap can be useful when practicing this yoga pose. You can try looping your arms together just above the elbow, and use this resistance to push your shoulder blades out. This will help strengthen the upper arms and keep a strong balance.
A challenging variation on downward dog is to raise up a leg behind you as you inhale. Make sure the leg is parallel to your torso, and that your hips are kept level. Hold this for 30 seconds to a minute if you can manage it, and release on an exhale. Repeat on the opposite side.
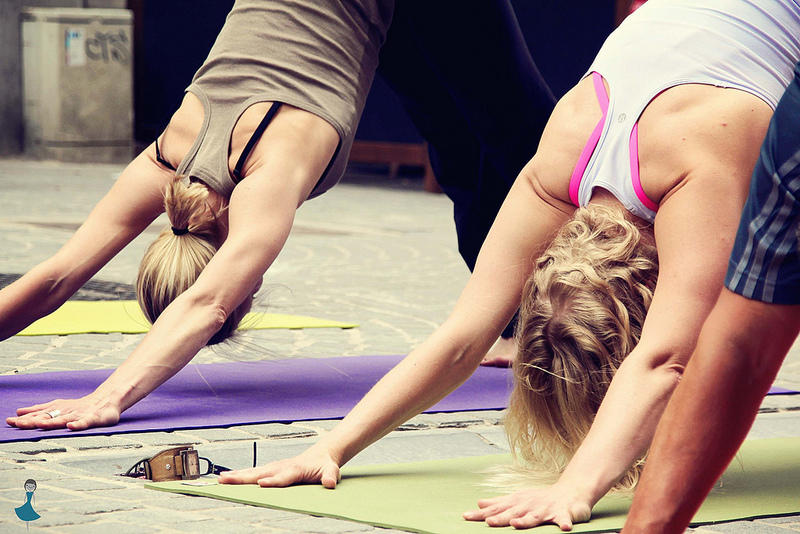
You can also try using a partner for this pose, which can really help with you keep a firm V shape.
By getting your partner to stand behind you holding a strap around the front of your groin, they can pull on the strap in a parallel motion to the line of your spine. This will help you push deeper into your downward dog, pushing into your pelvis and lengthening the front of your torso away from the strap.
To learn how to do the downward dog and other yoga poses including the dynamic warrior pose, no need to search the Internet for yoga near me: simply head to Superprof, where any number of yoga teachers welcome you!
Summarise with AI:
Did you like this article? Leave a rating!

